Favorite Self Tanners For The Perfect Tanning
- St. Tropez Self Tanner Express Mousse → Check current availability
- St. Tropez Classic Bronzing → Check current availability
- 2 Hours Express Loving Tan Ultra Dark → Check current availability
- Lusso Self Tanning → Check current availability
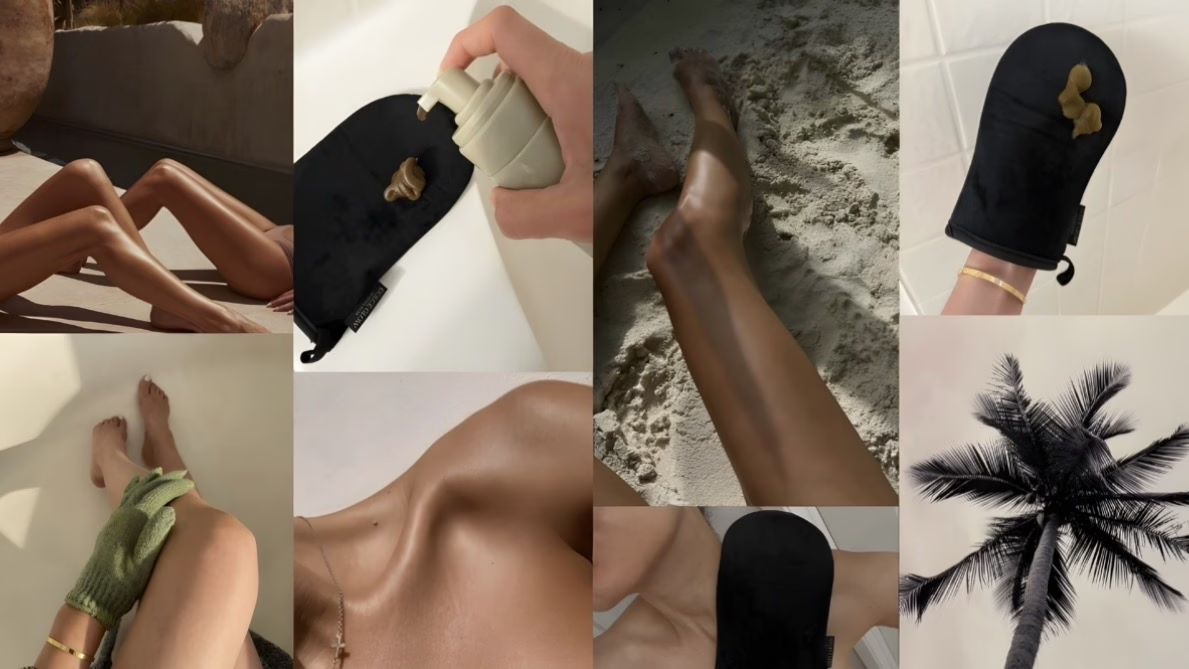
- Self- Tan Mitt → Check current availability
- Exfoliating gloves → Check current availability

Tanning With Self Tanner: My Honest Routine for a Sun-Kissed Glow
I recently started self tanning again and remembered why I love it so much. A good self tanner can make your skin look healthy, radiant, and naturally bronzed without spending hours in the sun.
Over the years, I’ve learned that the secret to a beautiful self tan isn’t just the product itself—it’s the preparation. When I take the time to properly prep my skin, my tan looks smoother, lasts longer, and fades more evenly.
If you’re interested in tanning with self tanner, here’s the exact routine I follow for the best results.
Key Takeaways
- Shave before applying self tanner.
- Exfoliate your skin to create a smooth canvas.
- Dry your skin before application.
- Apply self tanner with a tanning mitt.
- Allow the tan to fully develop before showering.
- Moisturize daily to extend the life of your tan.
- Self tanner does not protect against UV rays.
- Always wear sunscreen after self tanning.
What Is Self Tanner?
Self tanner is a cosmetic product that temporarily darkens the surface of the skin without UV exposure.
Most self tanners contain DHA (dihydroxyacetone), which reacts with the amino acids on the outer layer of the skin to create a bronzed appearance.
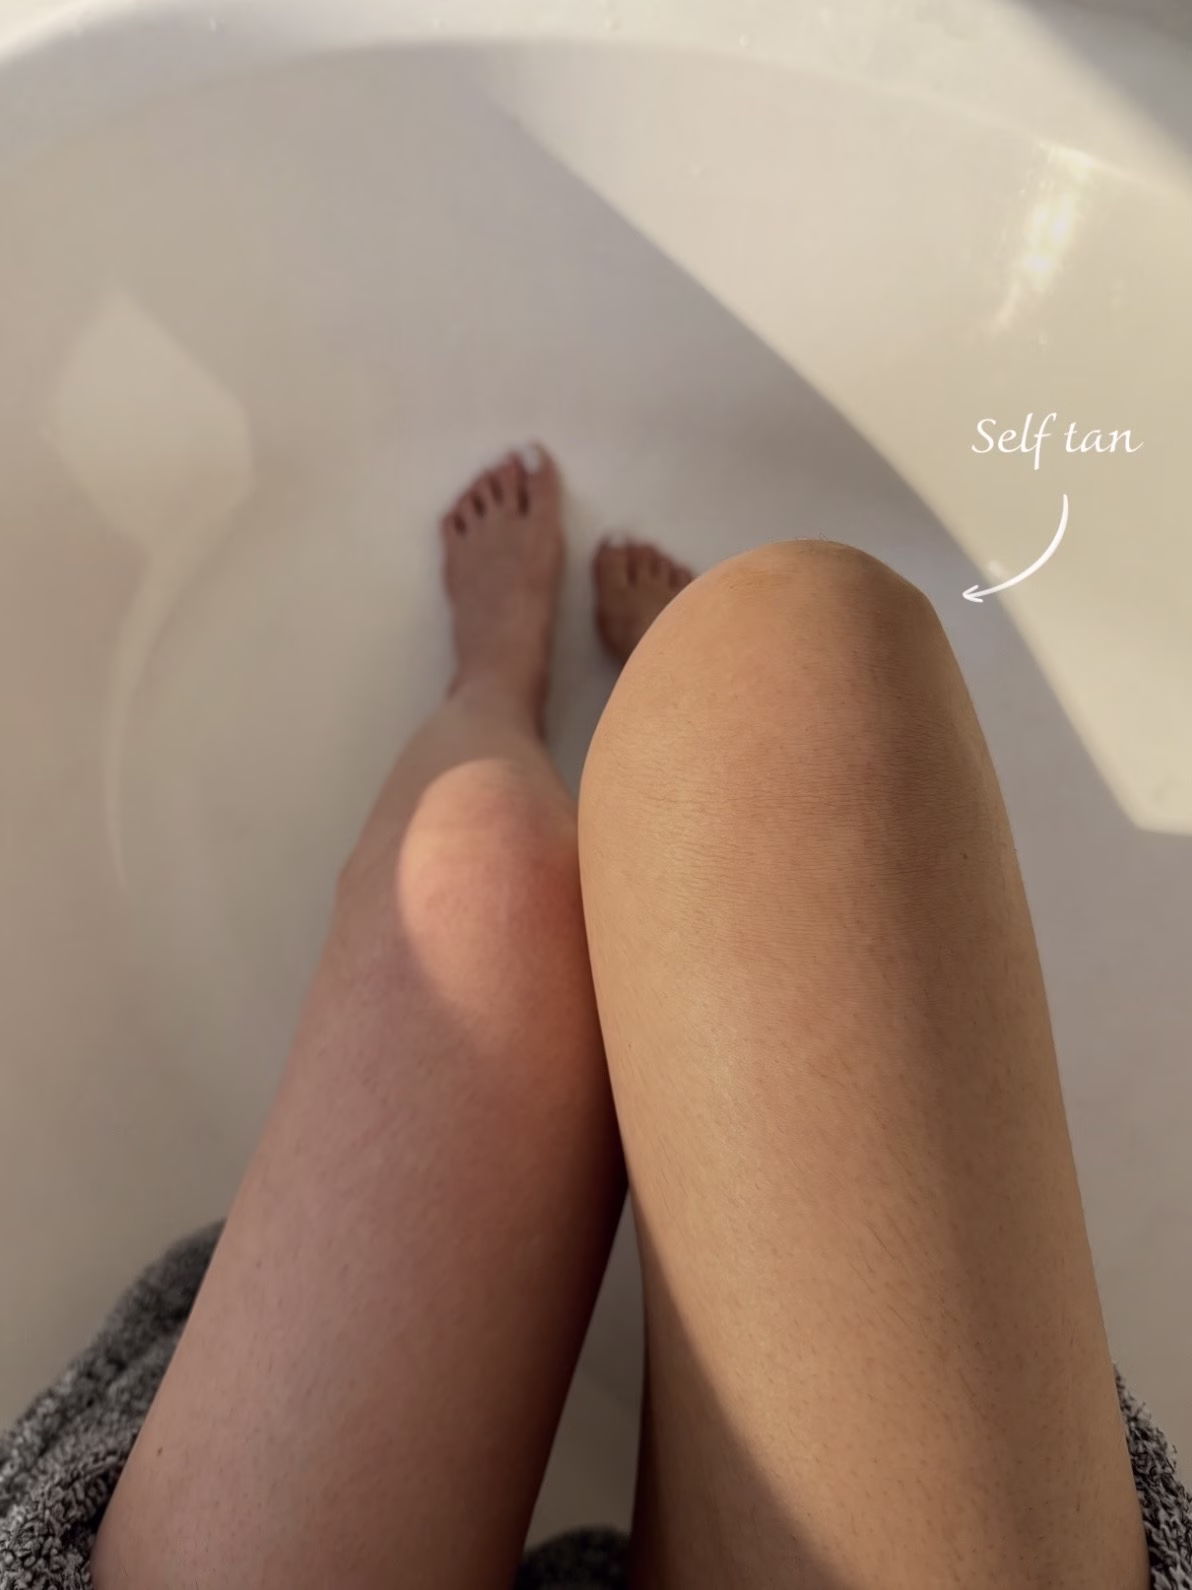
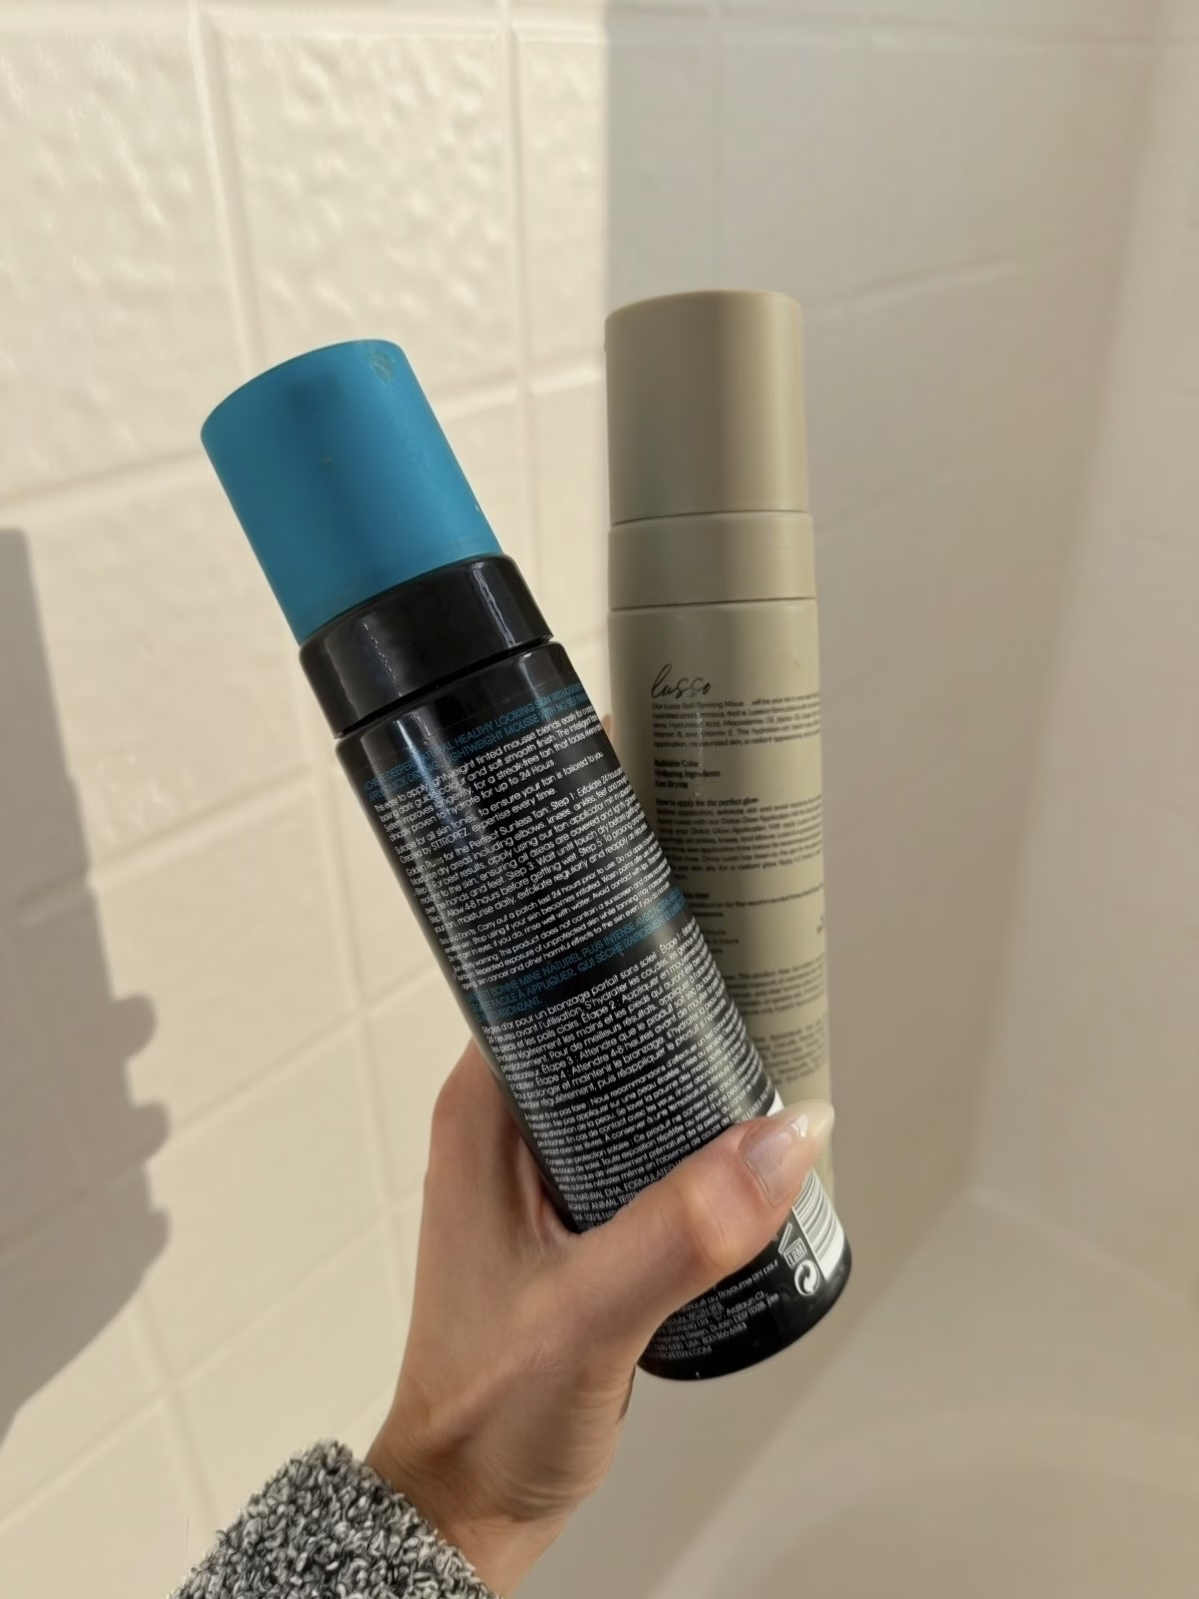
The result is a sun-kissed glow that typically lasts between five and ten days. There are several in the market, but my go-to self-tanners are
- St. Tropez Self Tanner Express Mousse → Check current availability
- St. Tropez Classic Bronzing → Check current availability
- 2 Hours Express Loving Tan Ultra Dark → Check current availability
- Lusso Self Tanning → Check current availability
All of these are excellent products, and honestly, I own them all and rotate through them. My recommendation is that, no matter which self-tanner you select, always read the instructions for use to achieve optimal results.

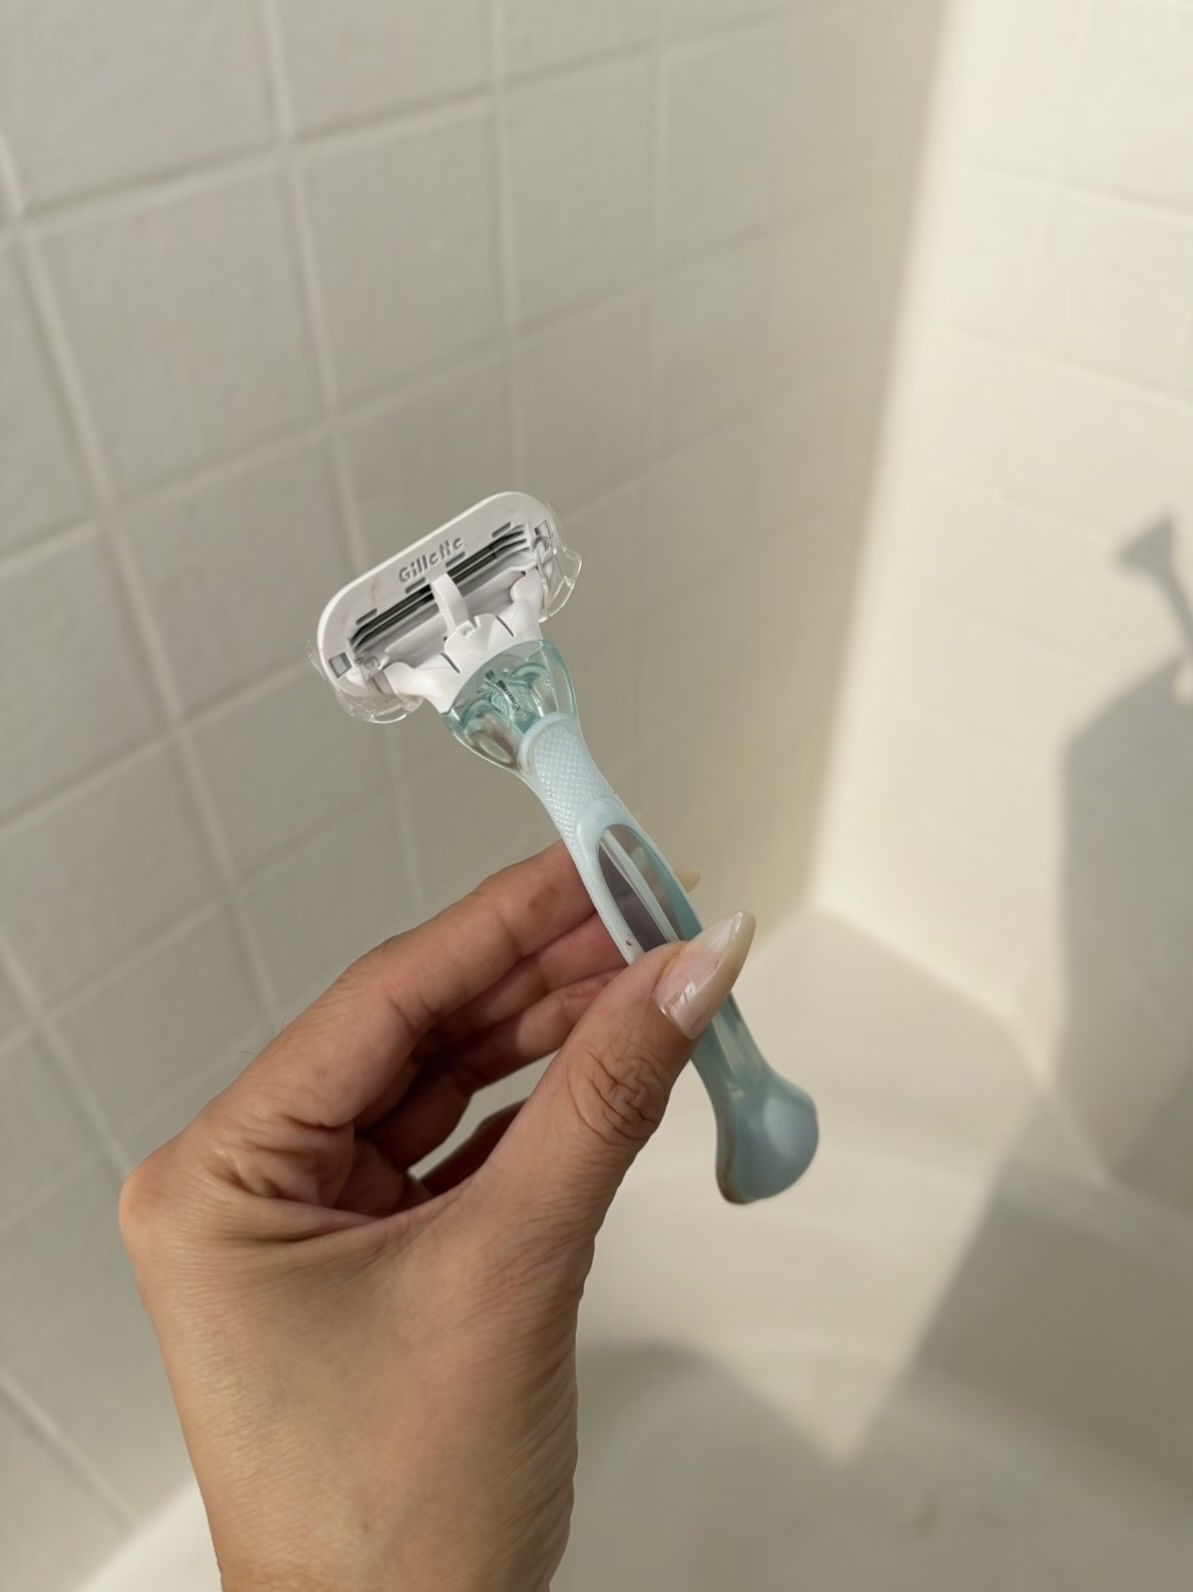
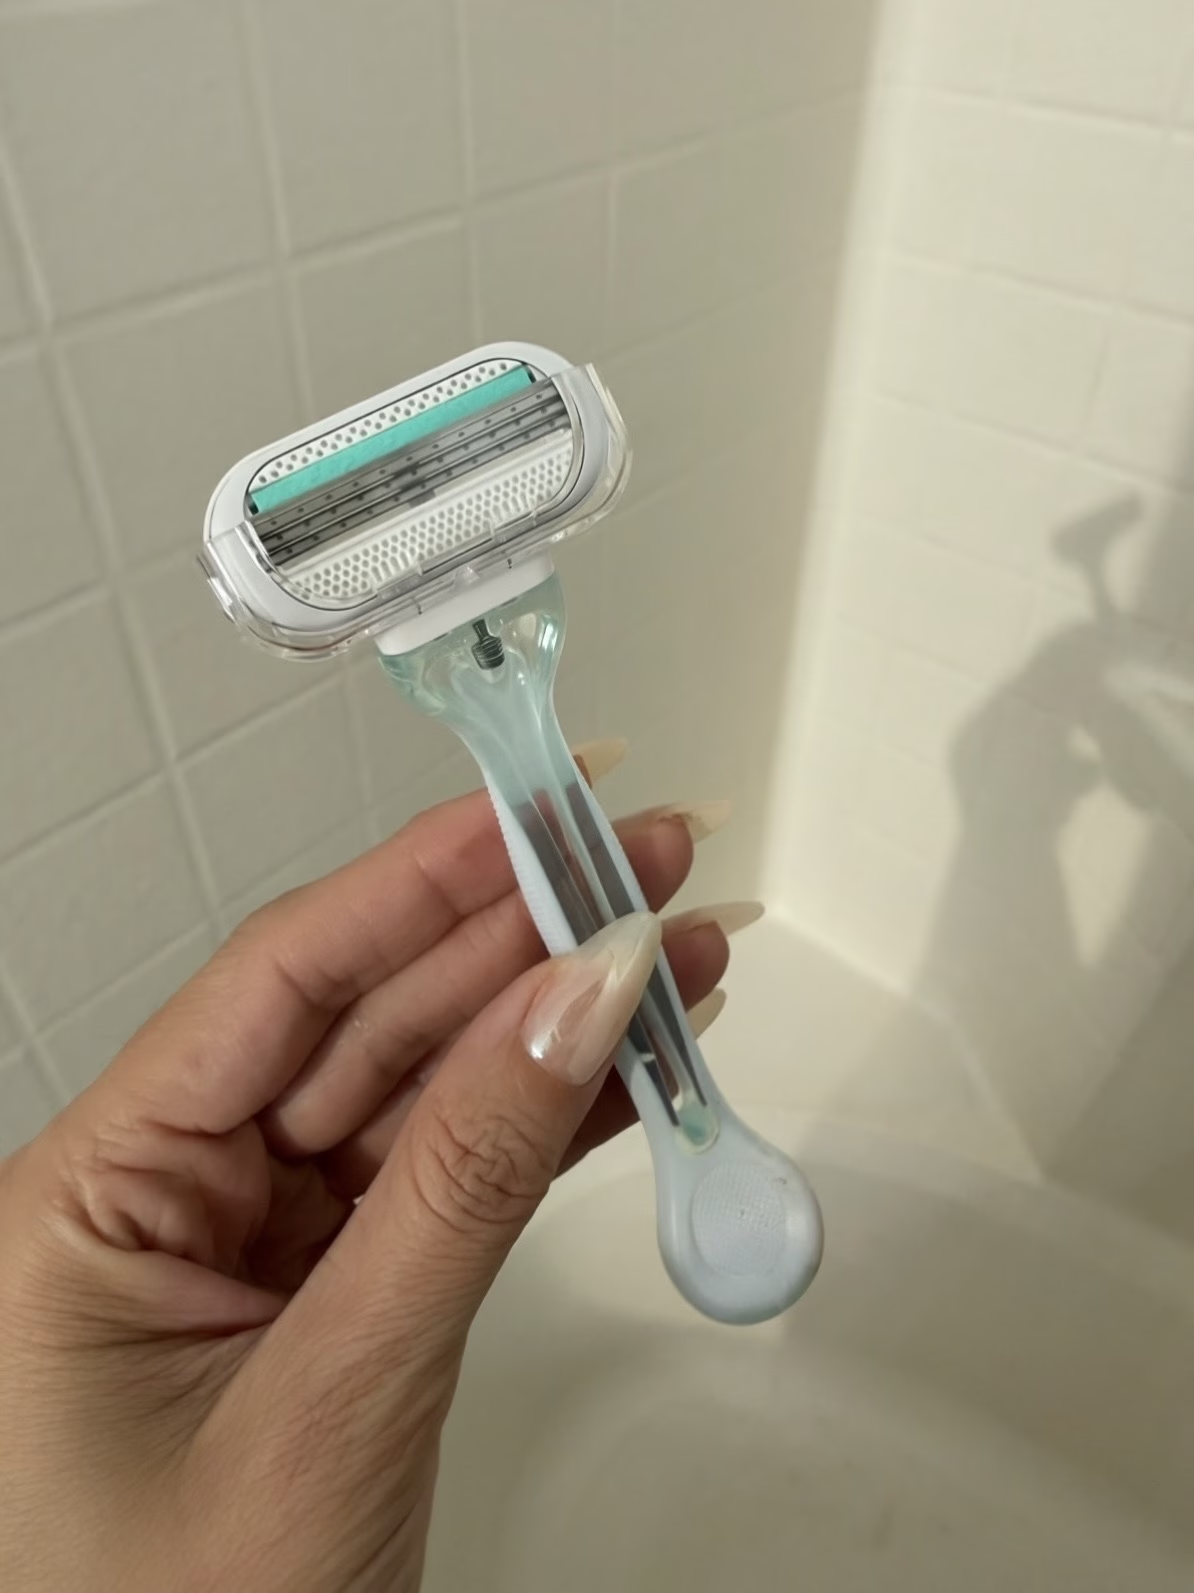
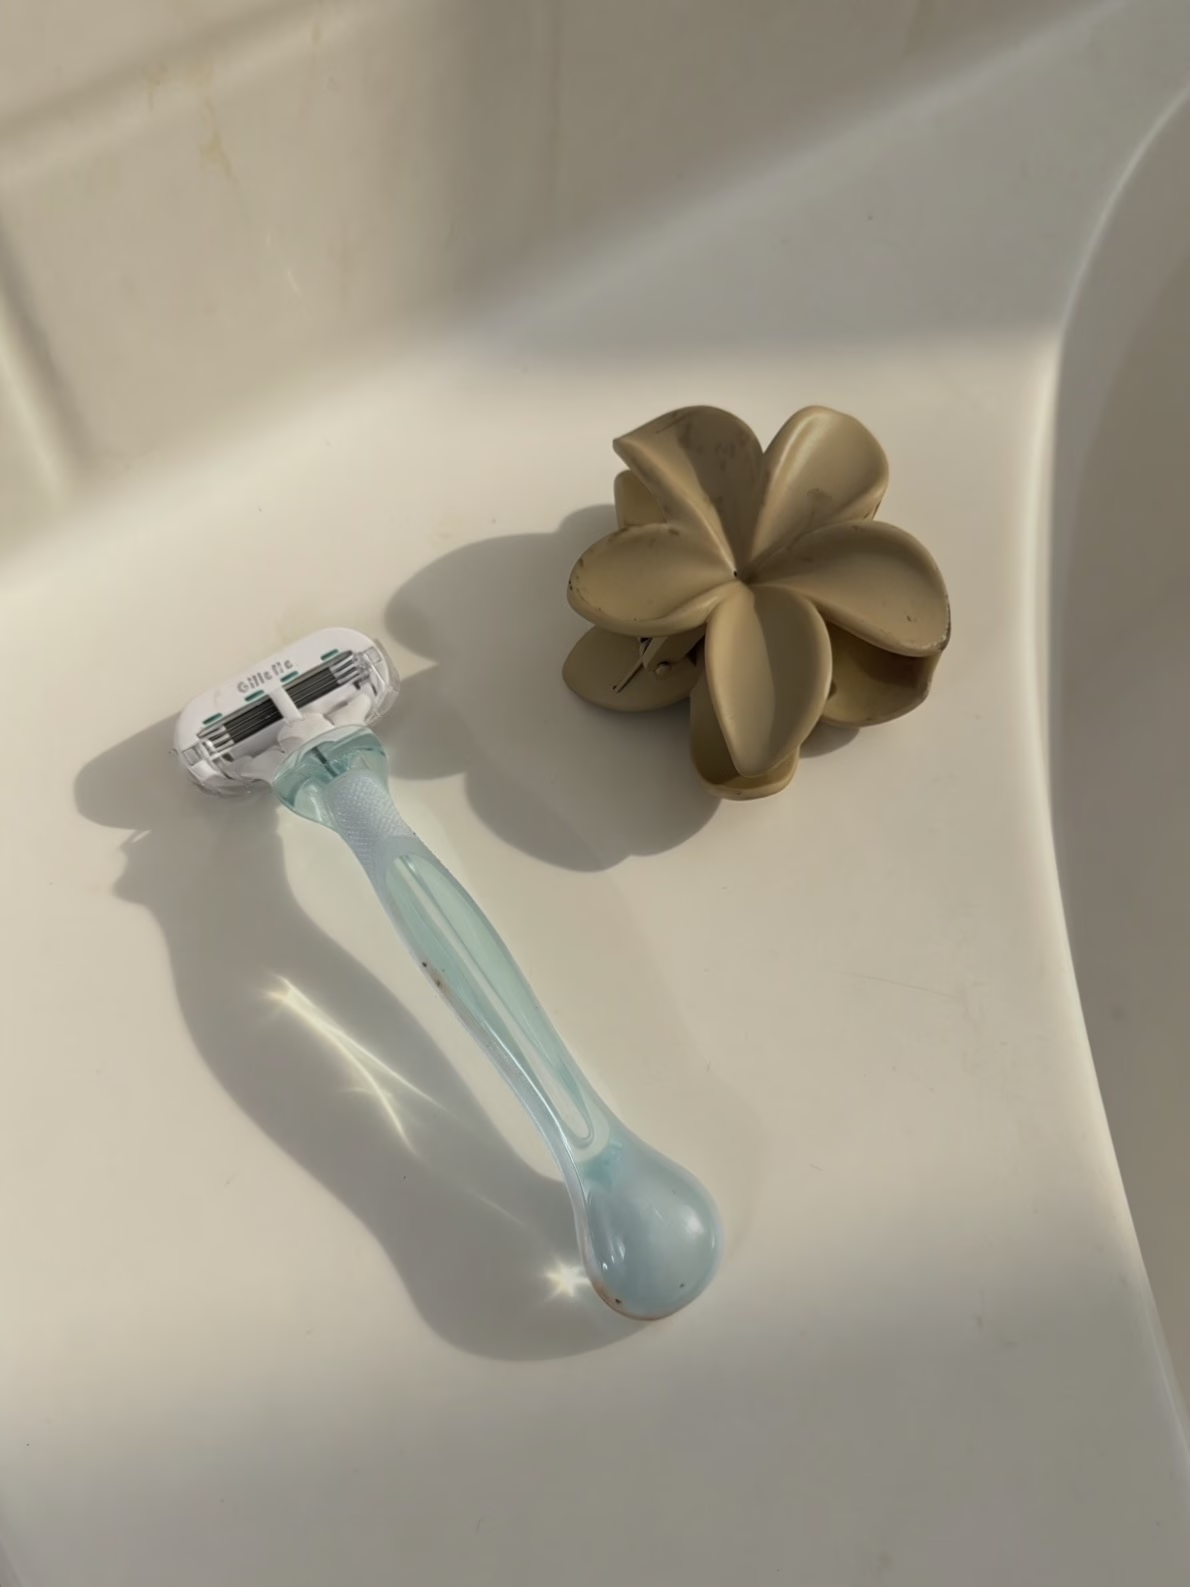
Step 1: Shave Before Self Tanning
This is a step I never skip.
I always shave before applying self tanner because smooth skin helps the product go on more evenly and creates a more natural-looking finish.
I recommend shaving at least 12 to 24 hours before applying self tanner whenever possible.
Benefits of shaving before self tanning:
- Creates a smoother surface for application.
- Helps prevent patchiness.
- Allows the product to glide on more evenly.
- Creates a more polished final result.
I avoid shaving immediately after applying self tanner because shaving can exfoliate the skin and may cause the tan to fade more quickly.
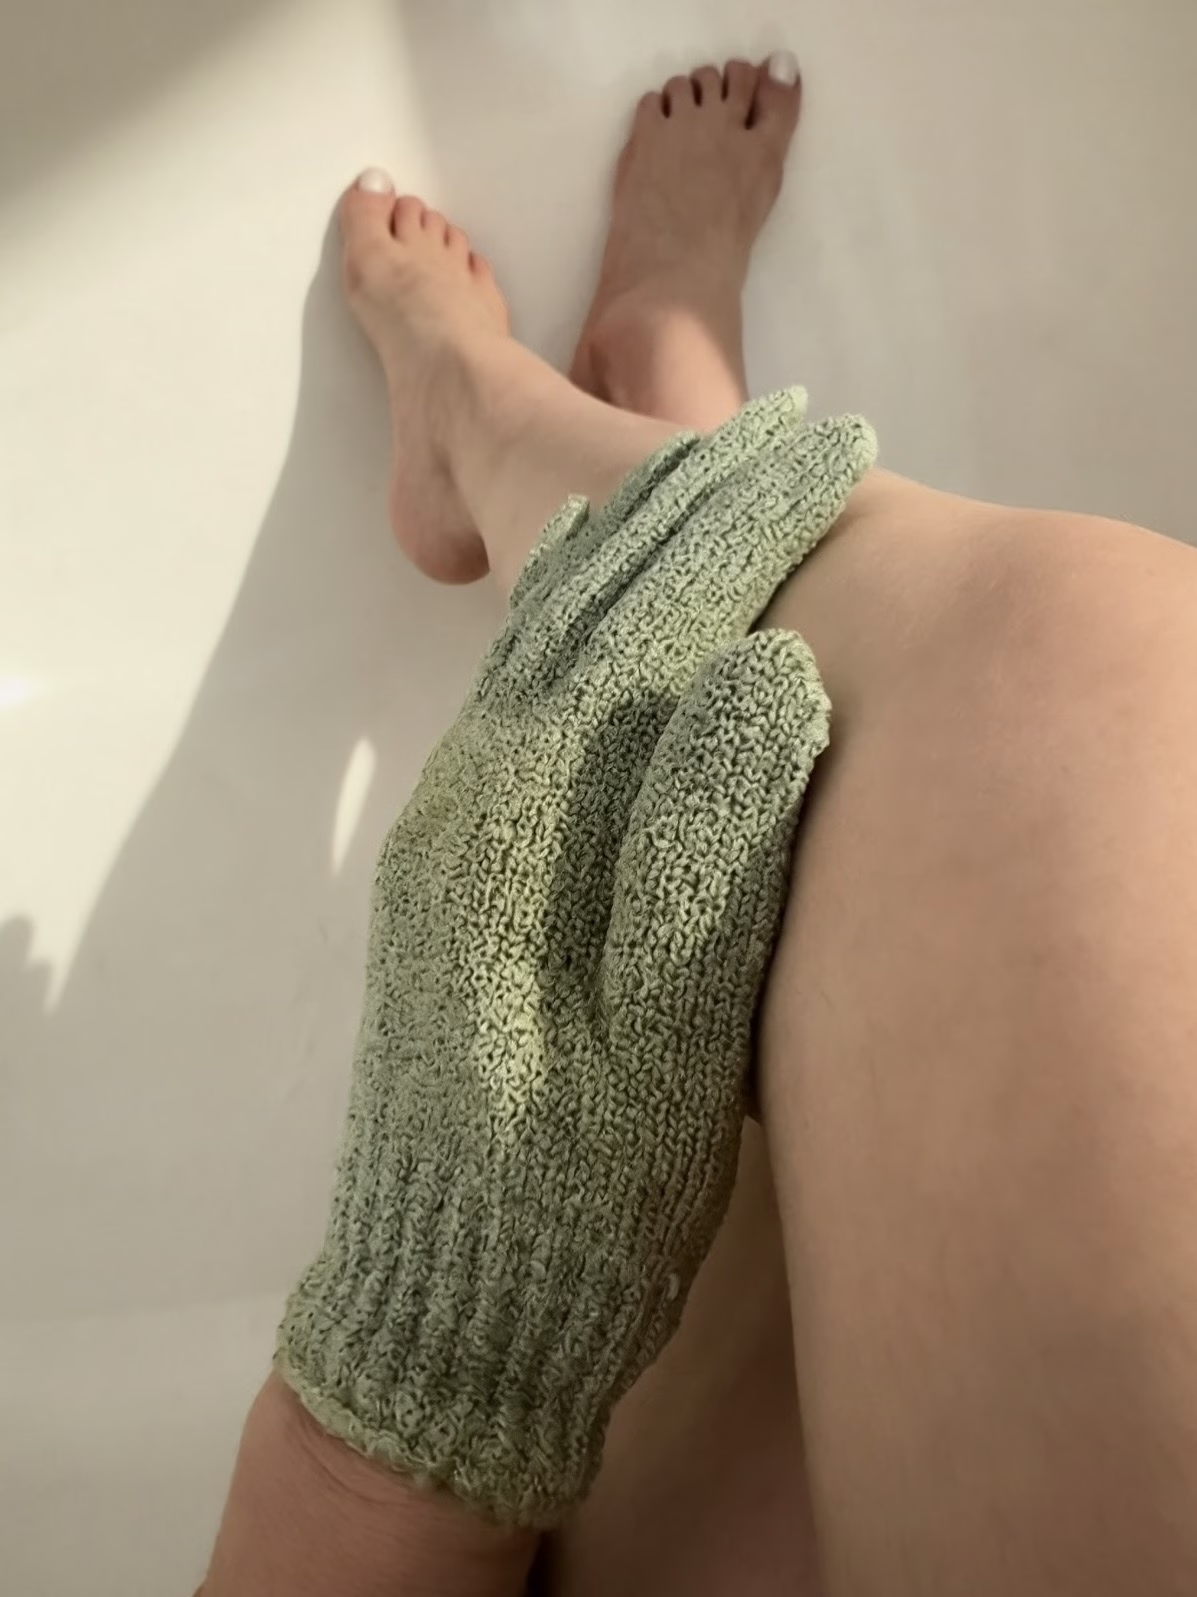
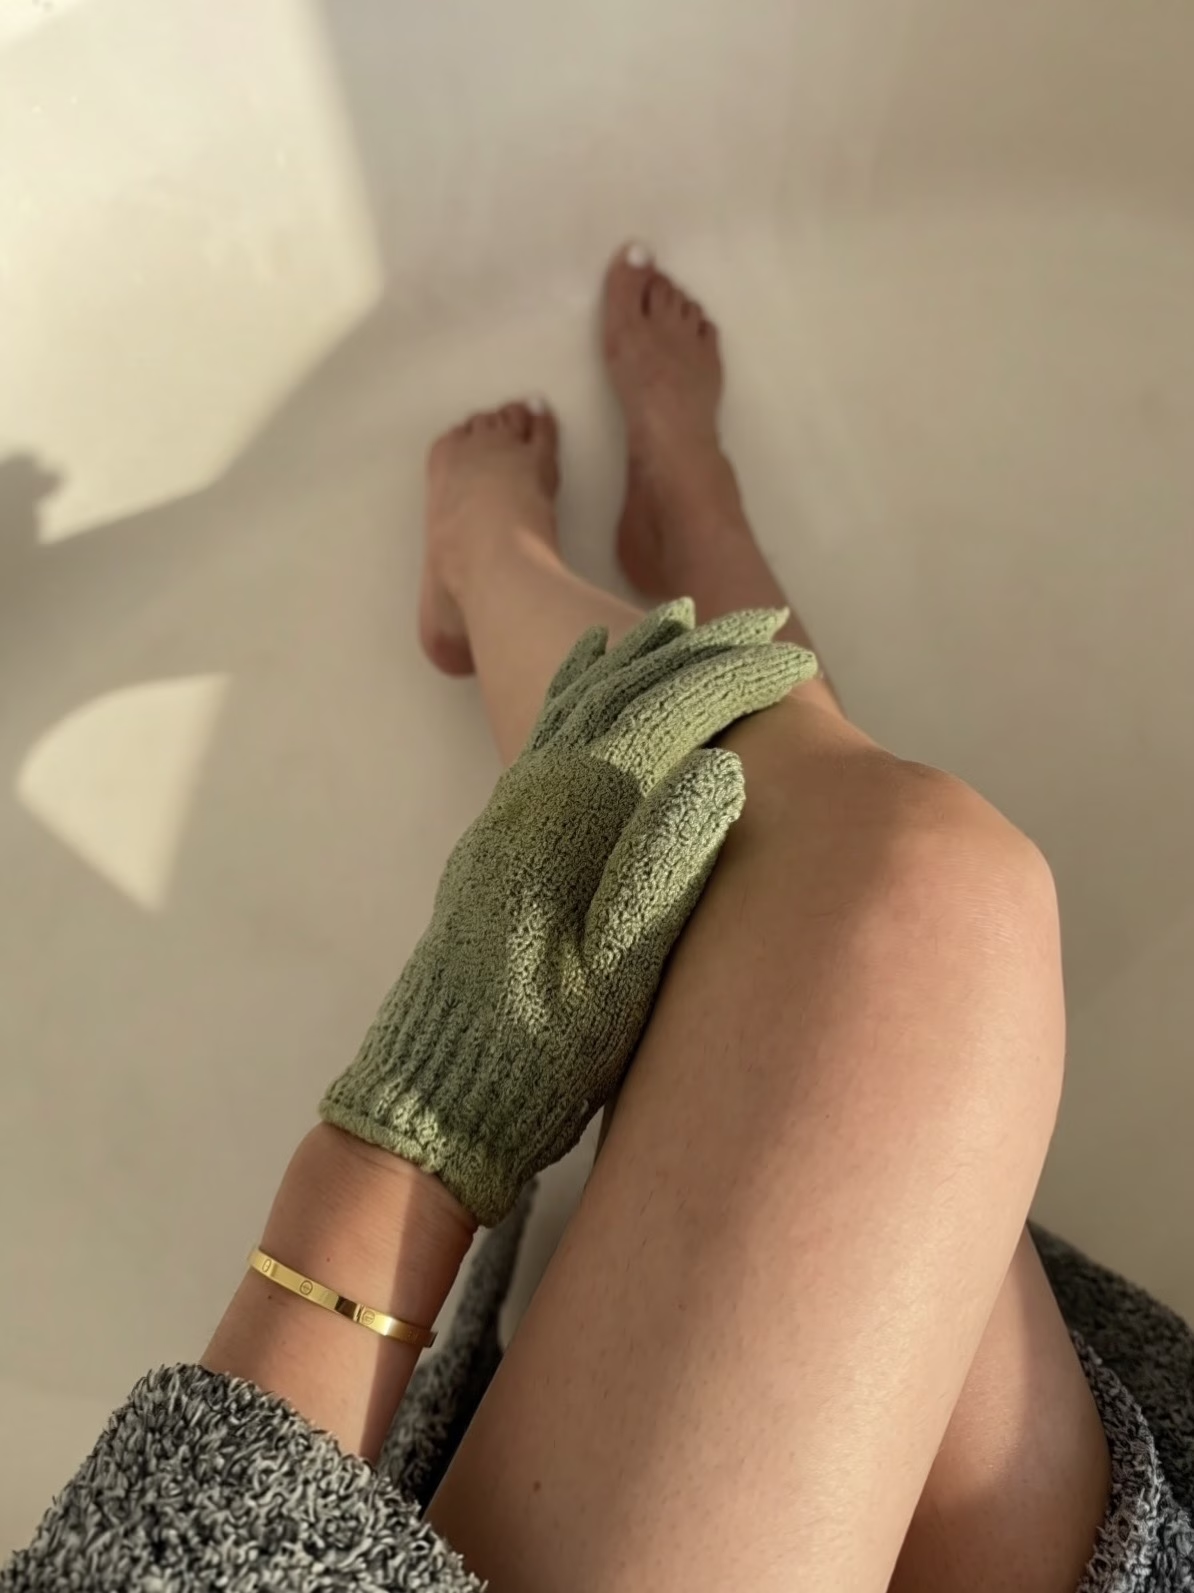
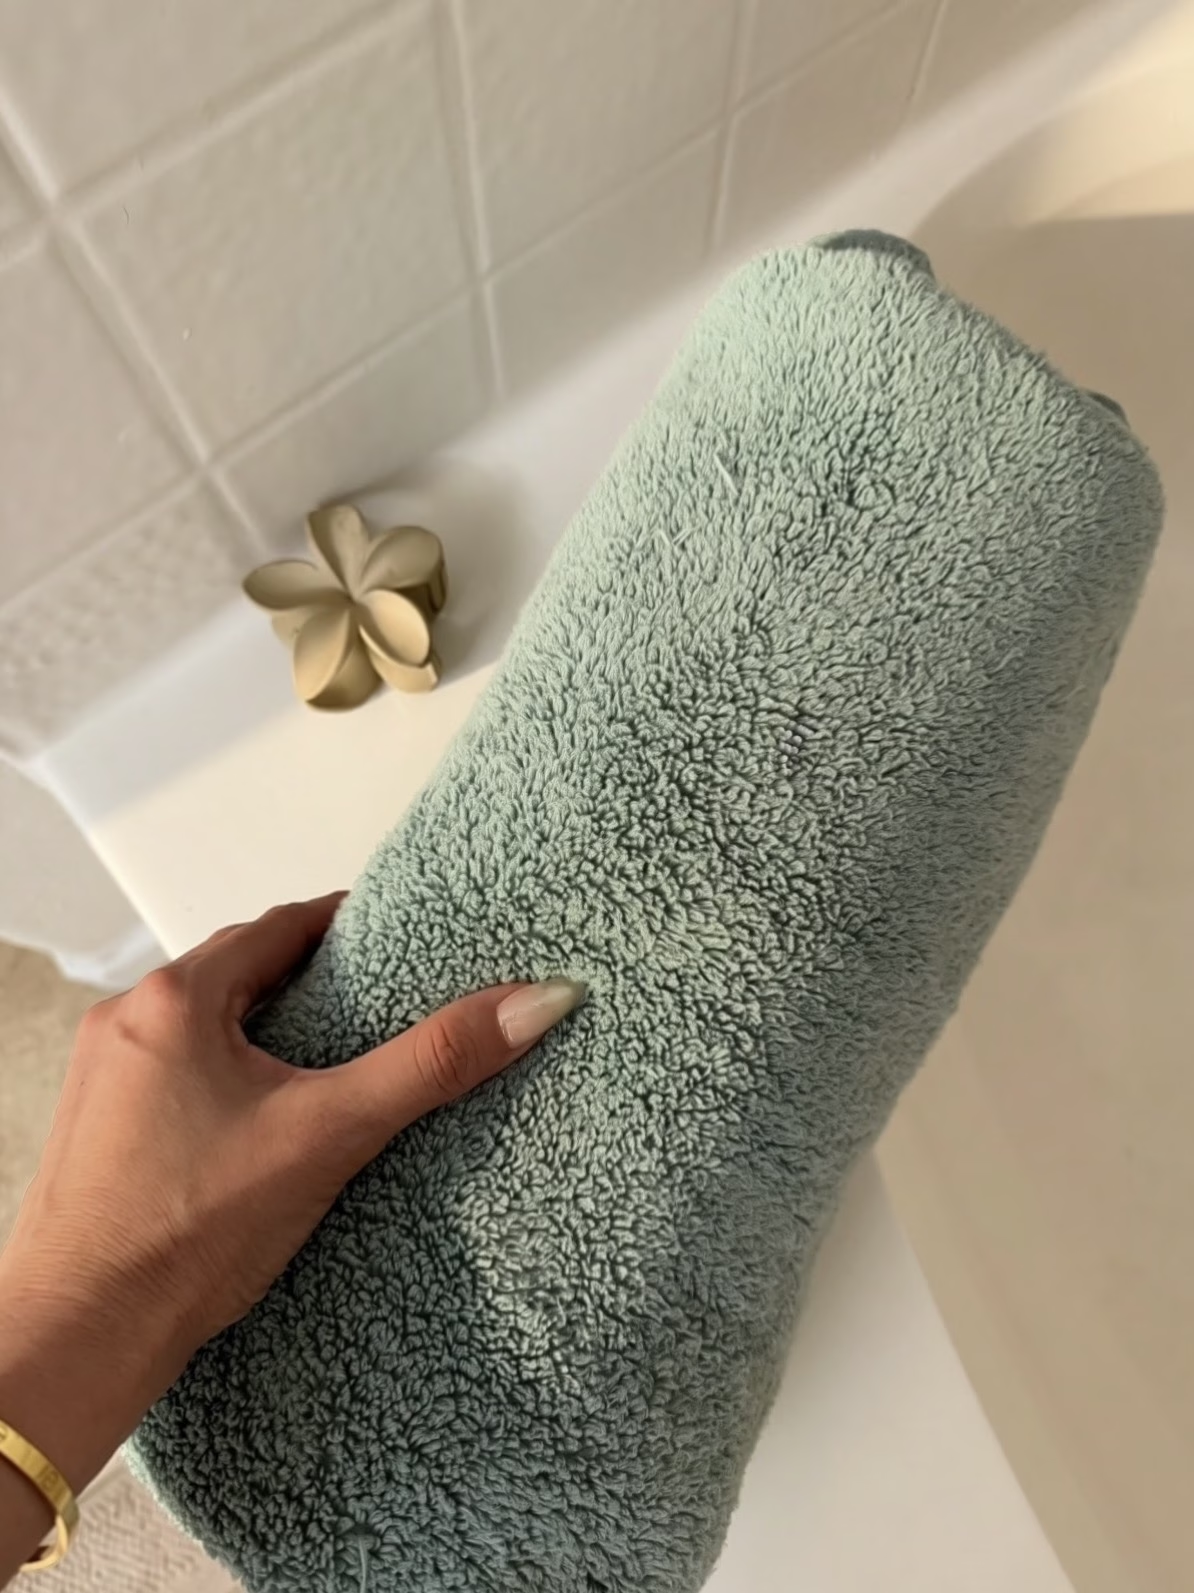
Step 2: Exfoliate Your Skin
Once I’ve shaved, I exfoliate my entire body.
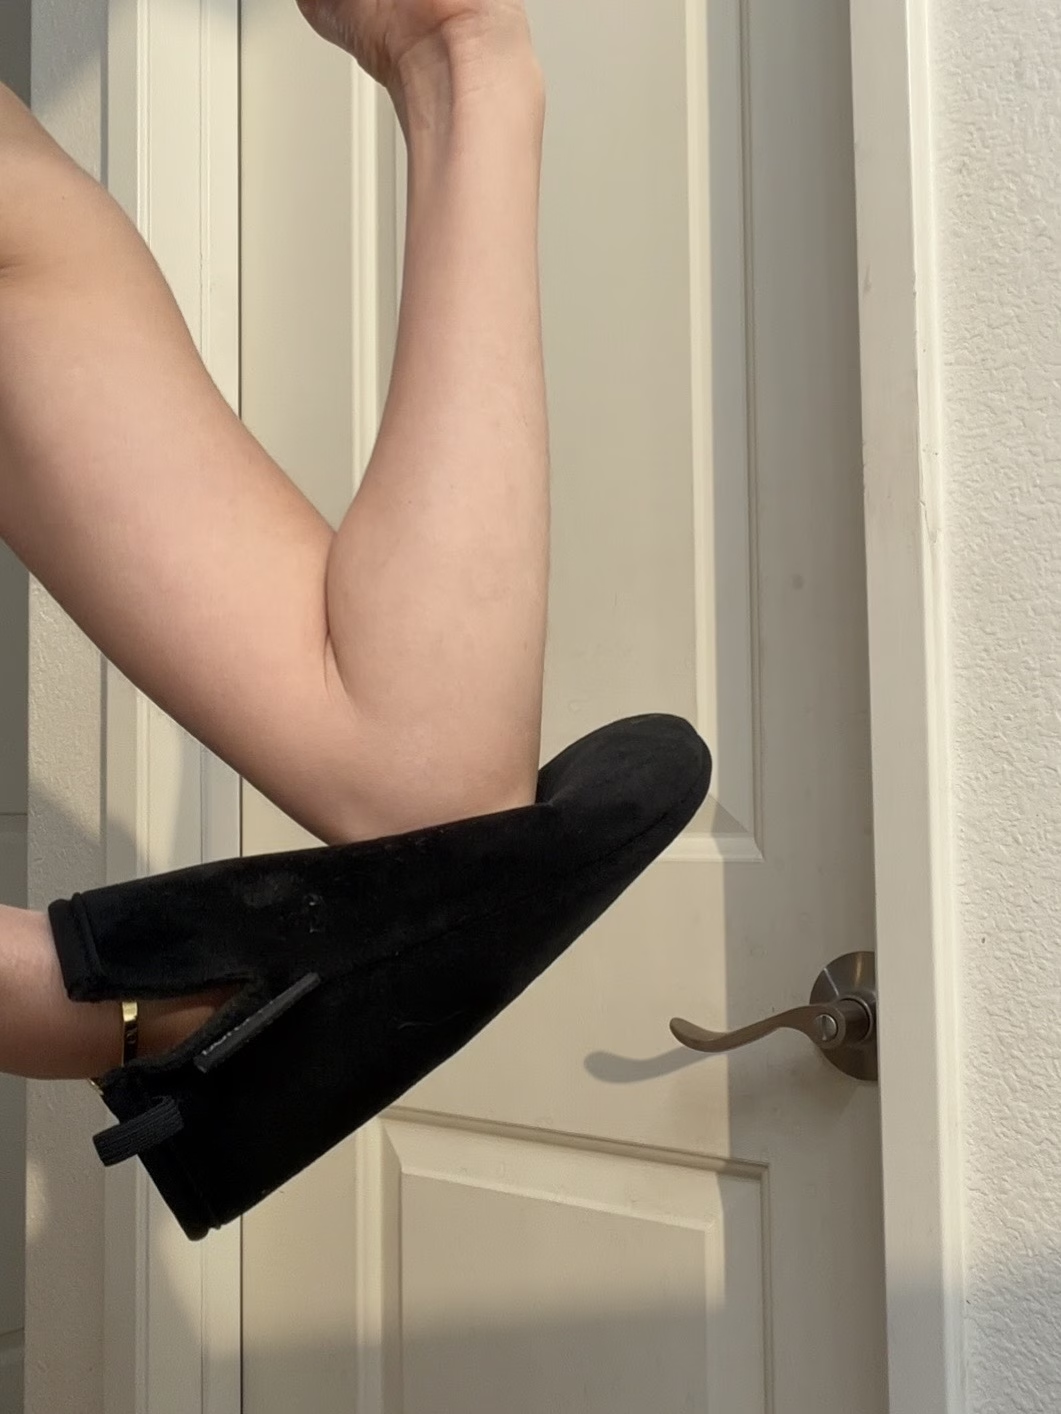
I use exfoliating gloves. Exfoliation removes dead skin cells and helps create the perfect base for self tanner.
I pay extra attention to:
- Knees
- Elbows
- Ankles
- Feet
- Hands
Skipping this step often leads to streaks and uneven color.

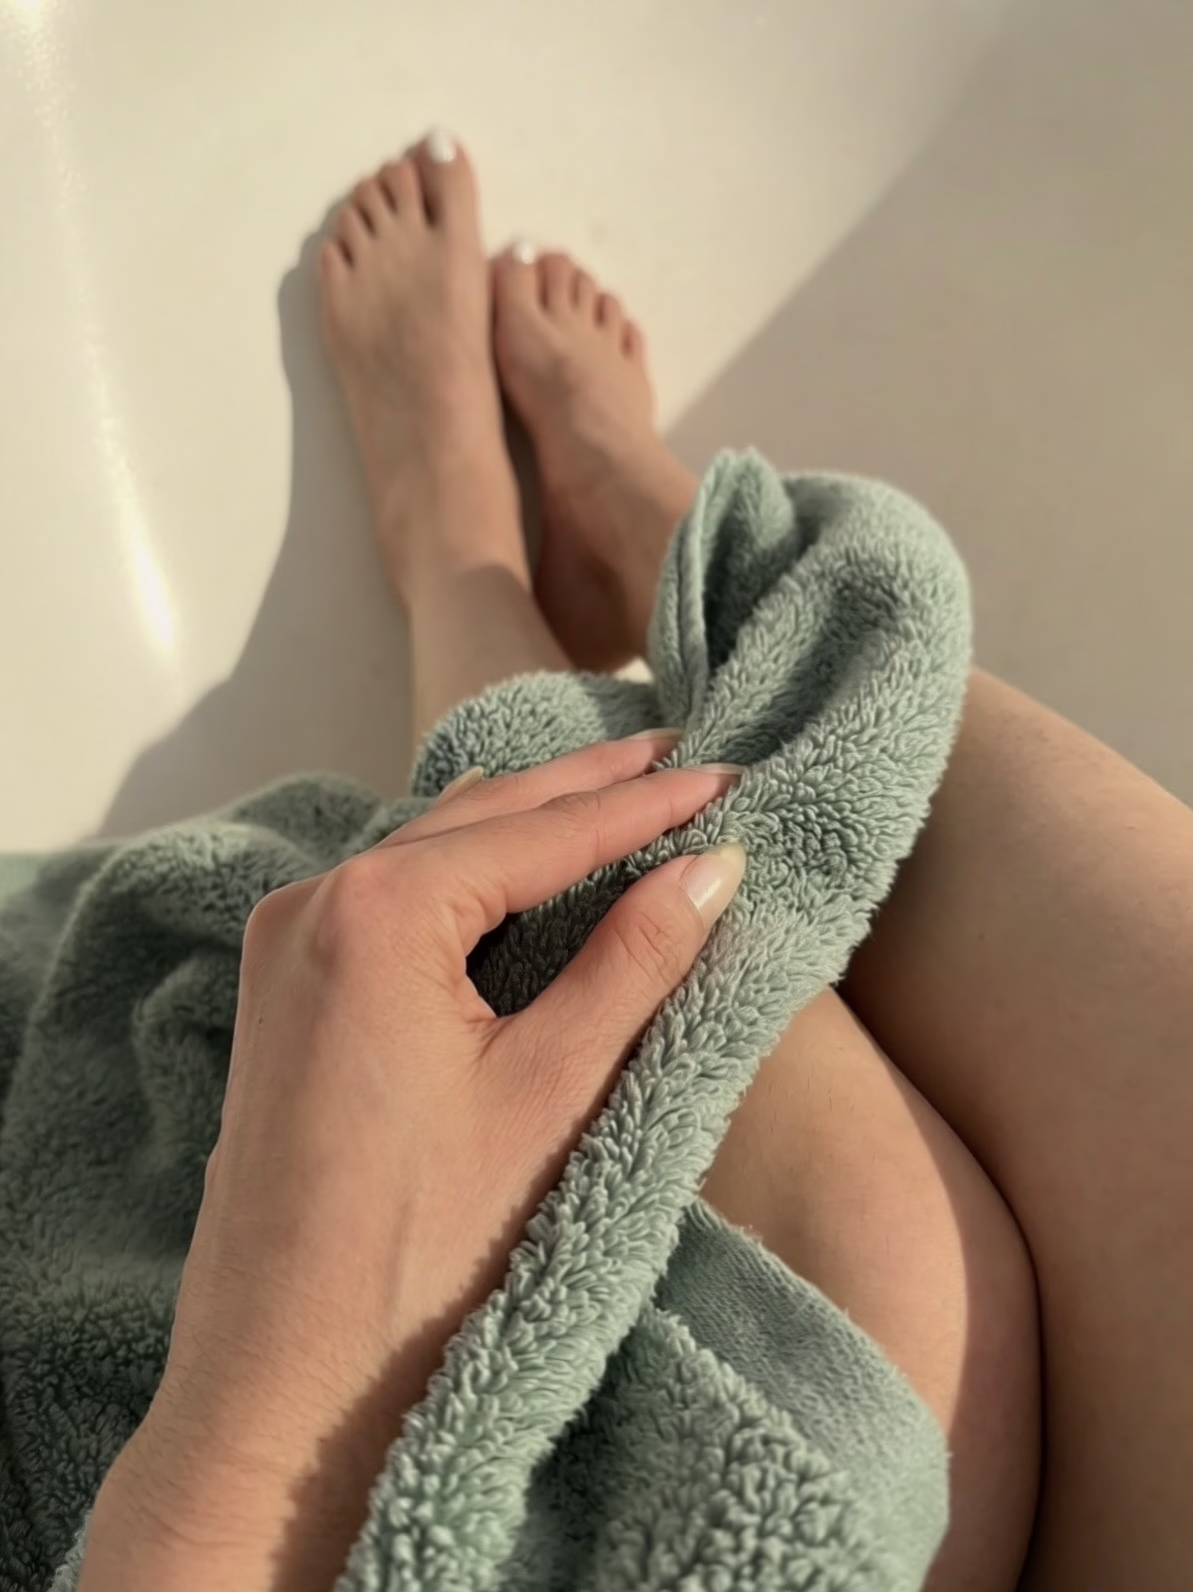
Step 3: Dry Your Skin
Make sure to dry your skin before applying self-tanner. This helps the product go on evenly and smoothly. While some sources recommend applying moisturizer beforehand, I’ve found that applying self-tanner on dry skin gives better results.
However, I do tend to moisturize areas like wrists, ankles, knees, and elbows before applying self-tanner. These spots often have more bones or tend to bend, which can lead to noticeable marks. In general, though, I believe that moisturizer isn’t necessary for the rest of the skin.
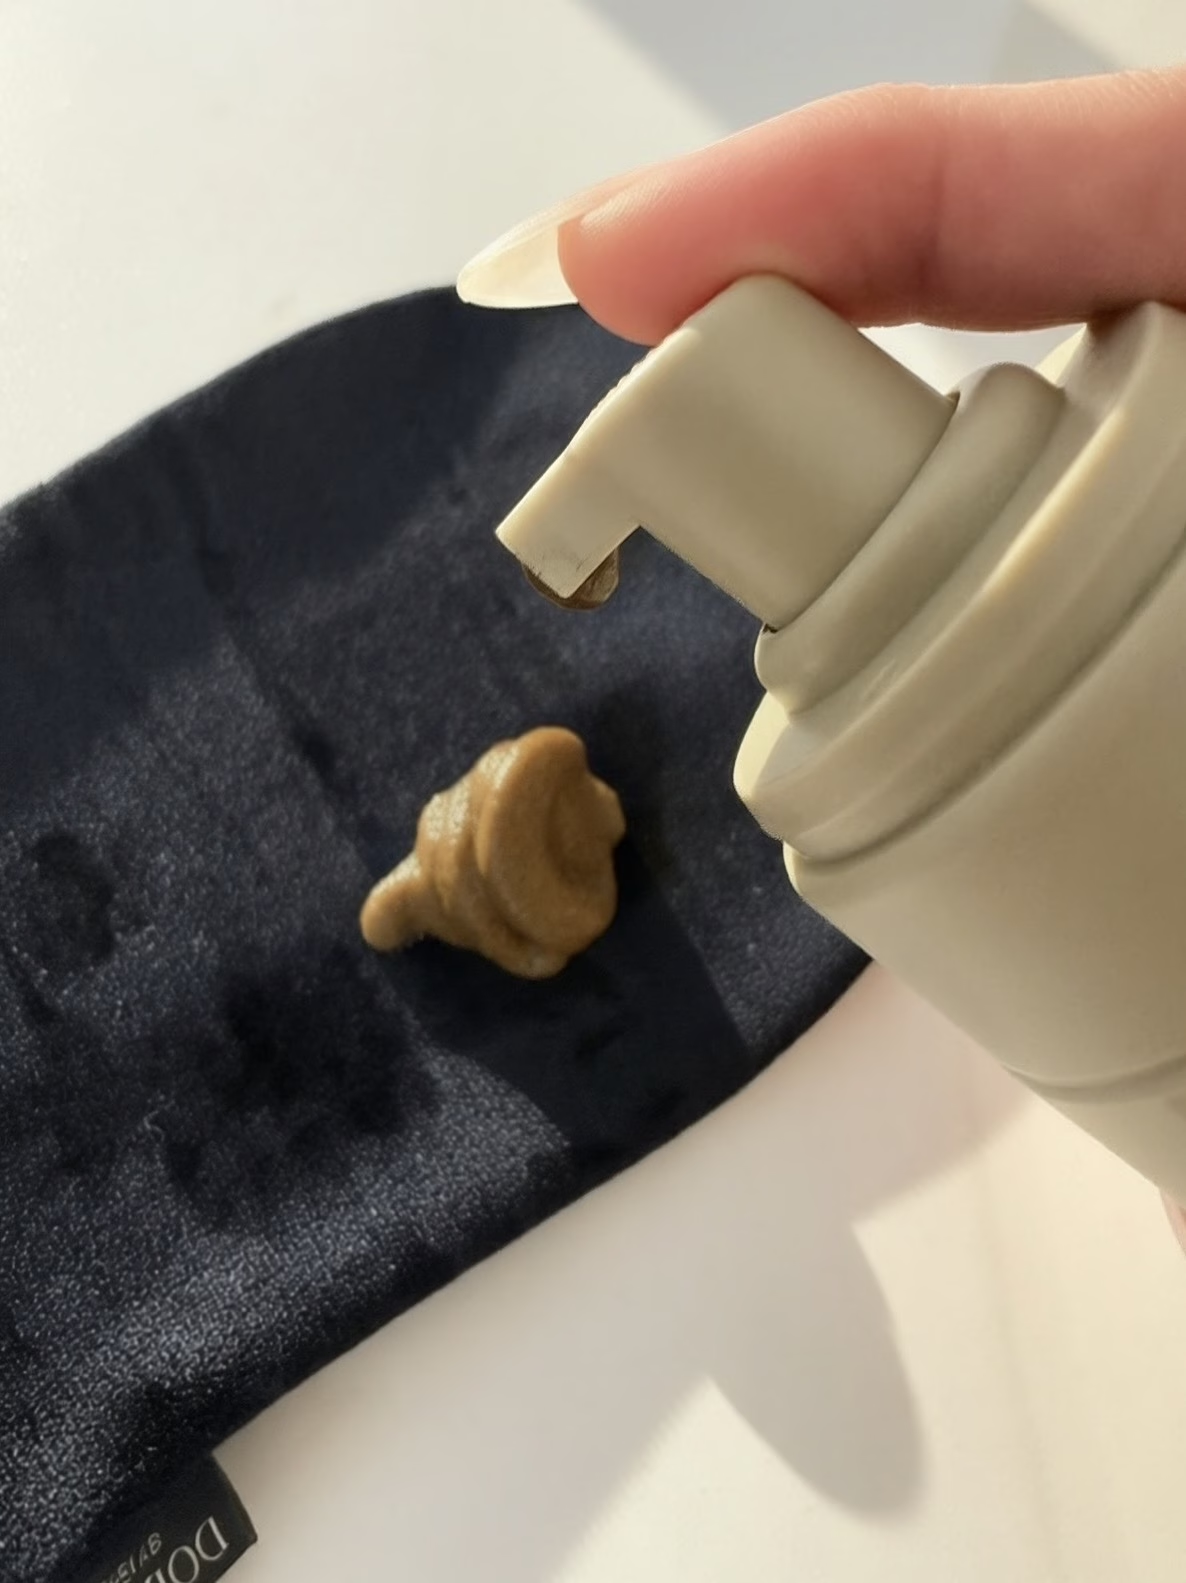
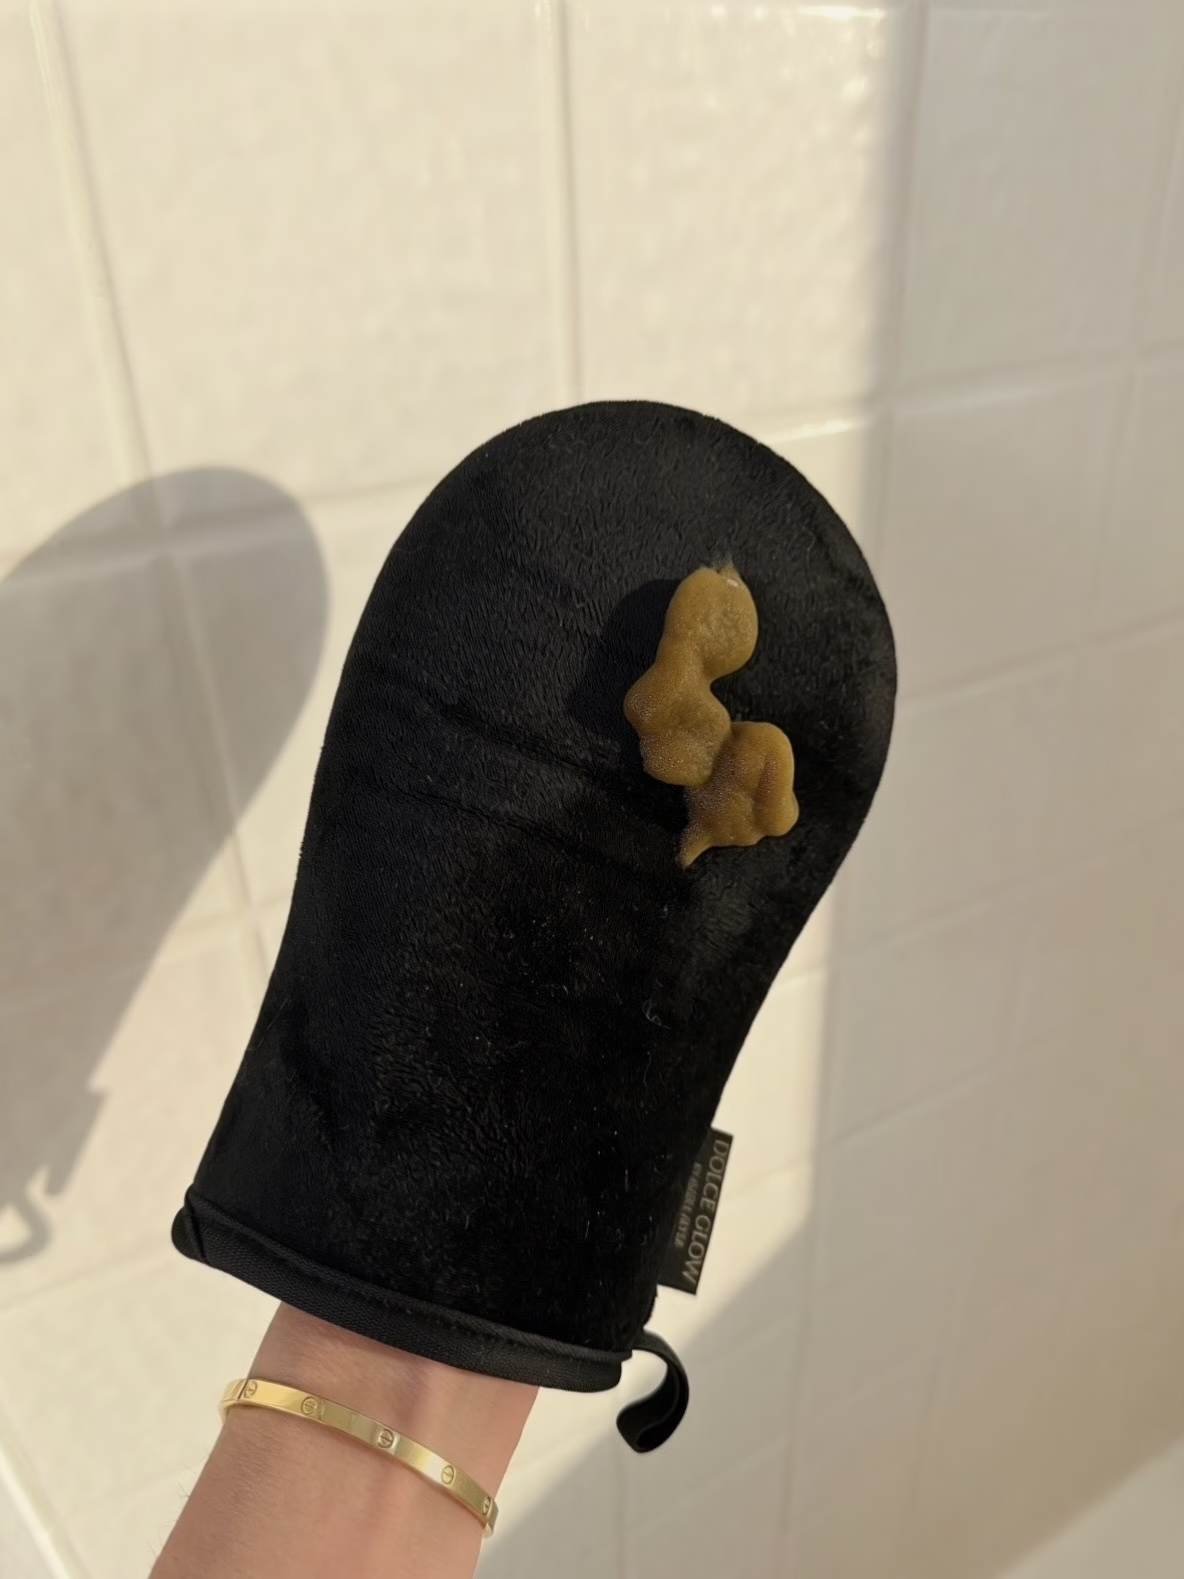
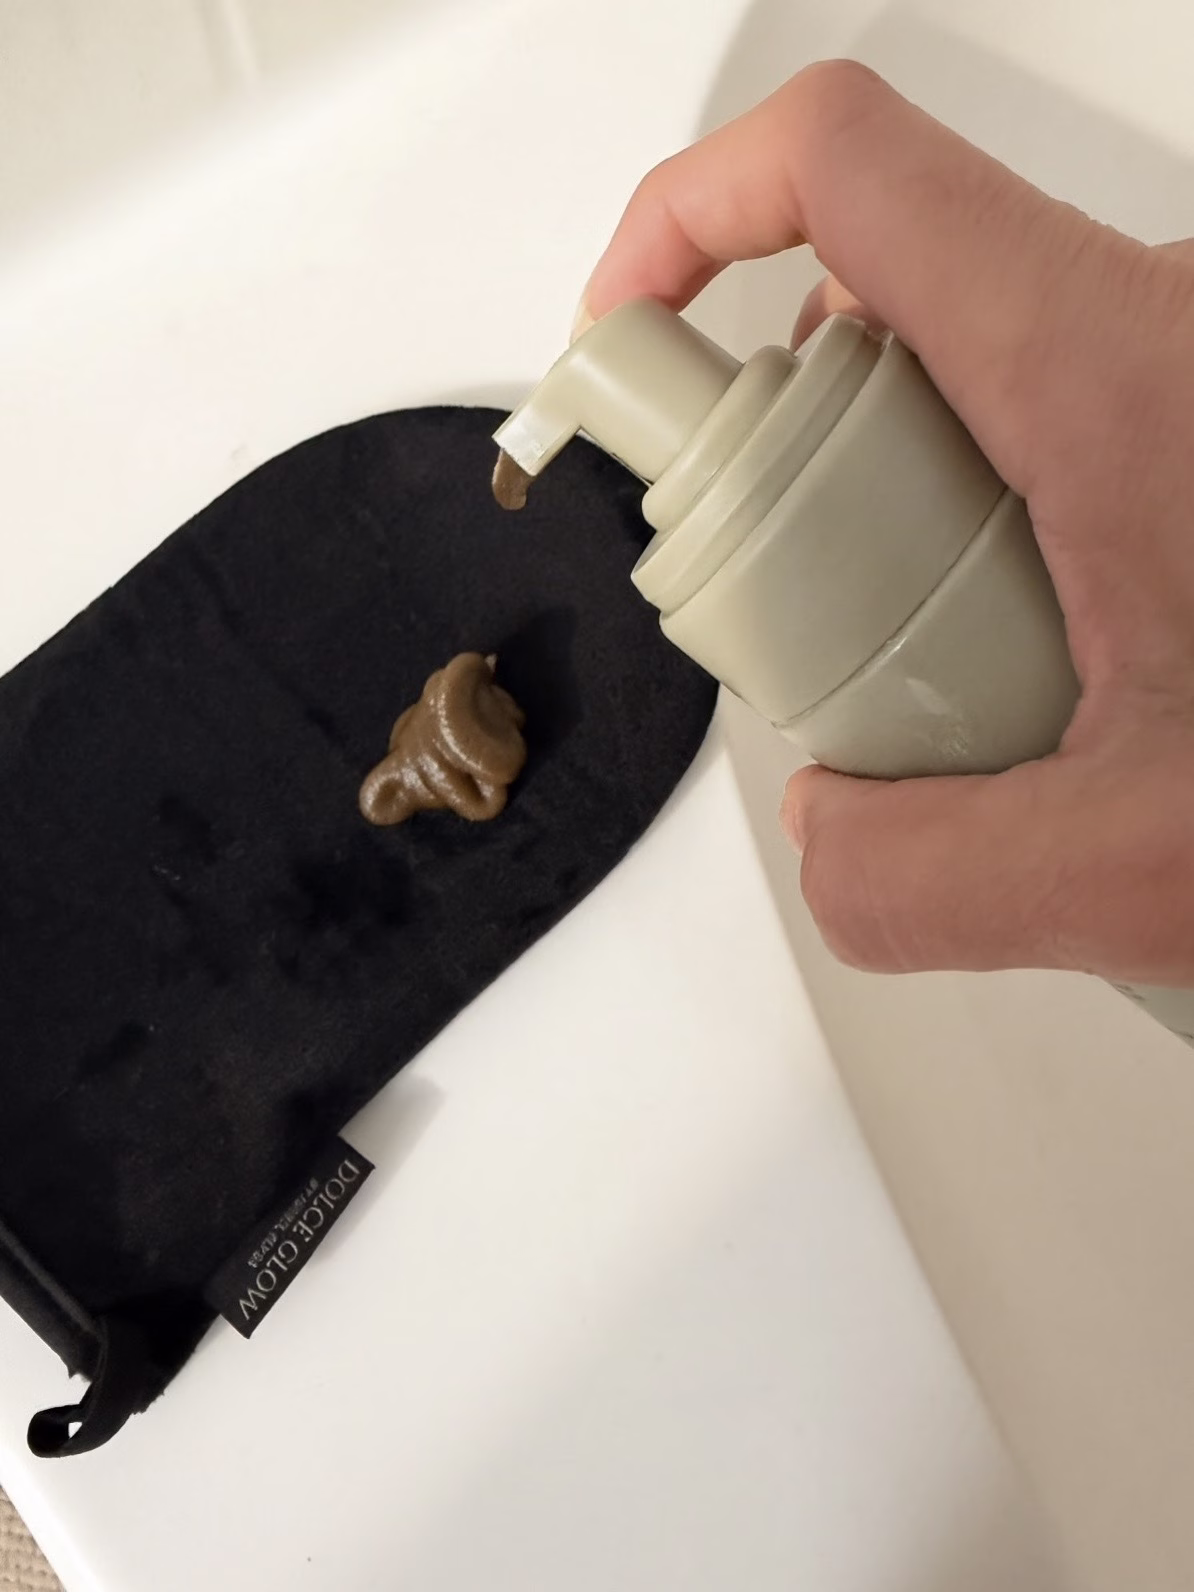
Step 4: Apply Self Tanner With a Mitt
I always use a tanning mitt.
It helps distribute the product evenly and keeps my palms from becoming stained.
I apply the self tanner in sections:
- Legs
- Arms
- Torso
- Back
- Neck
I work in circular motions and take my time blending.
For my hands and feet, I use whatever product remains on the mitt rather than applying additional product directly.

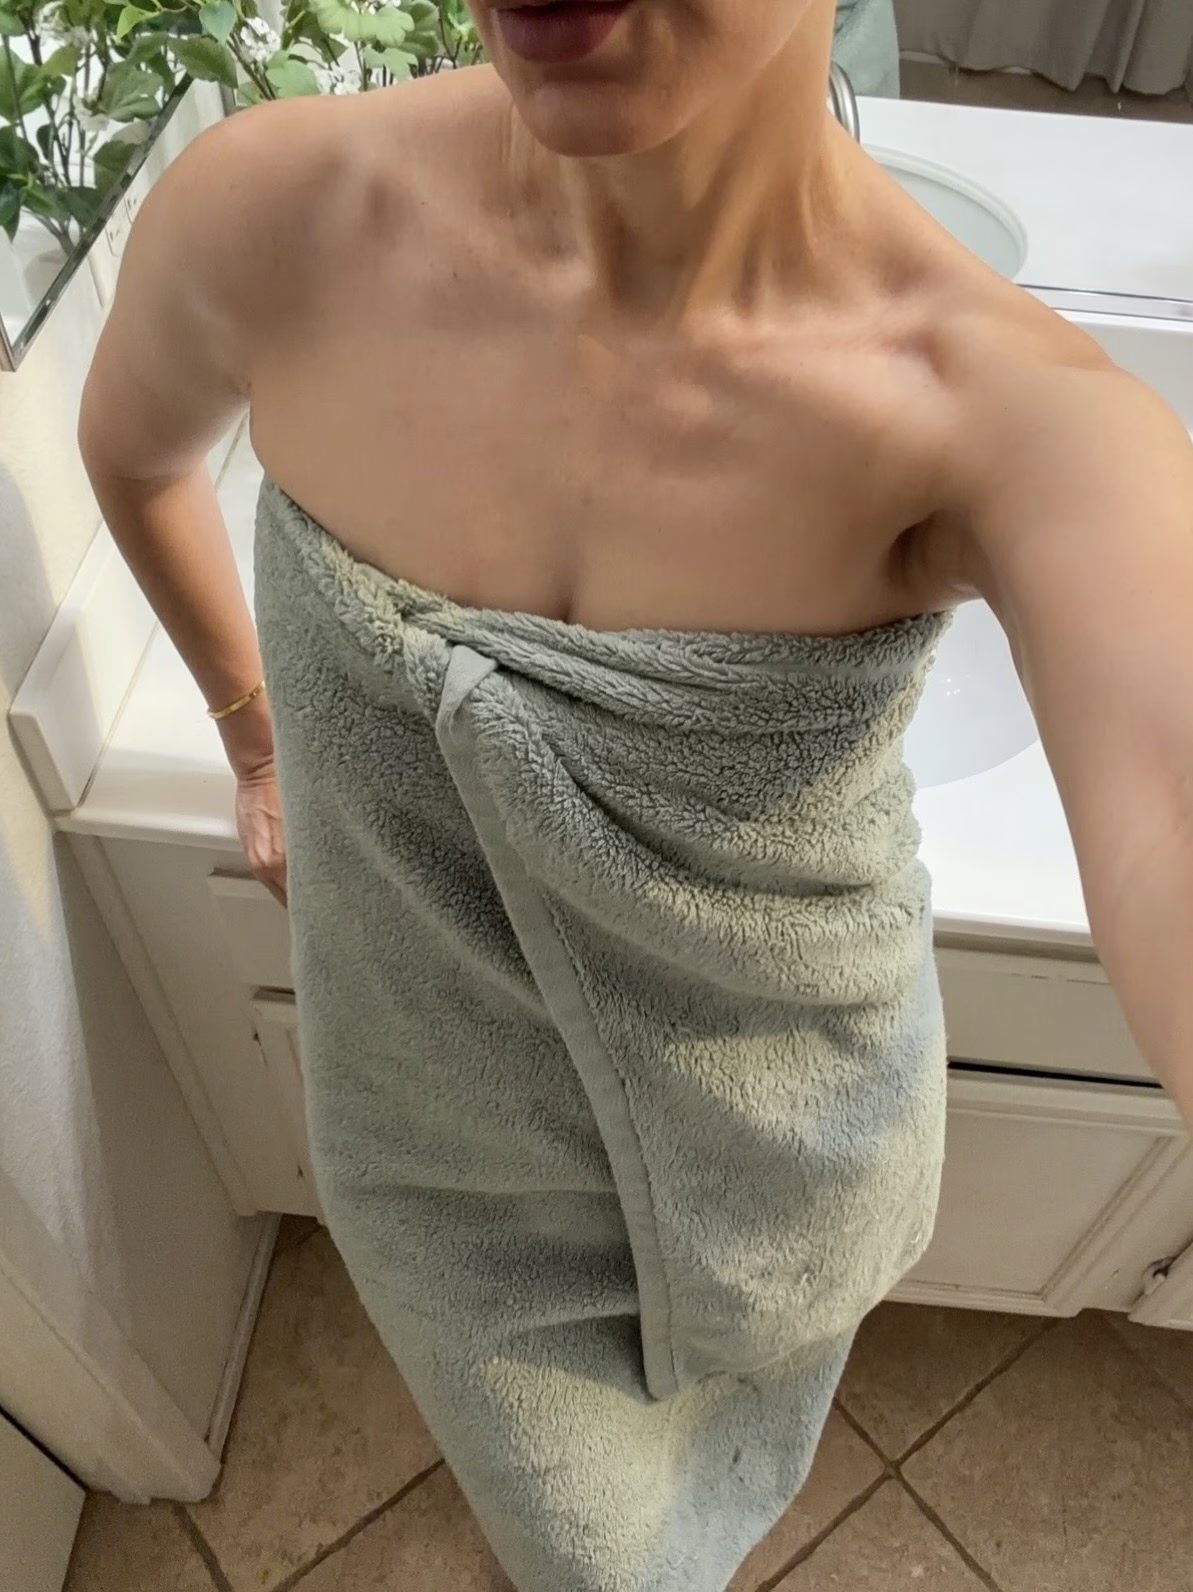
Step 5: Let It Dry Completely
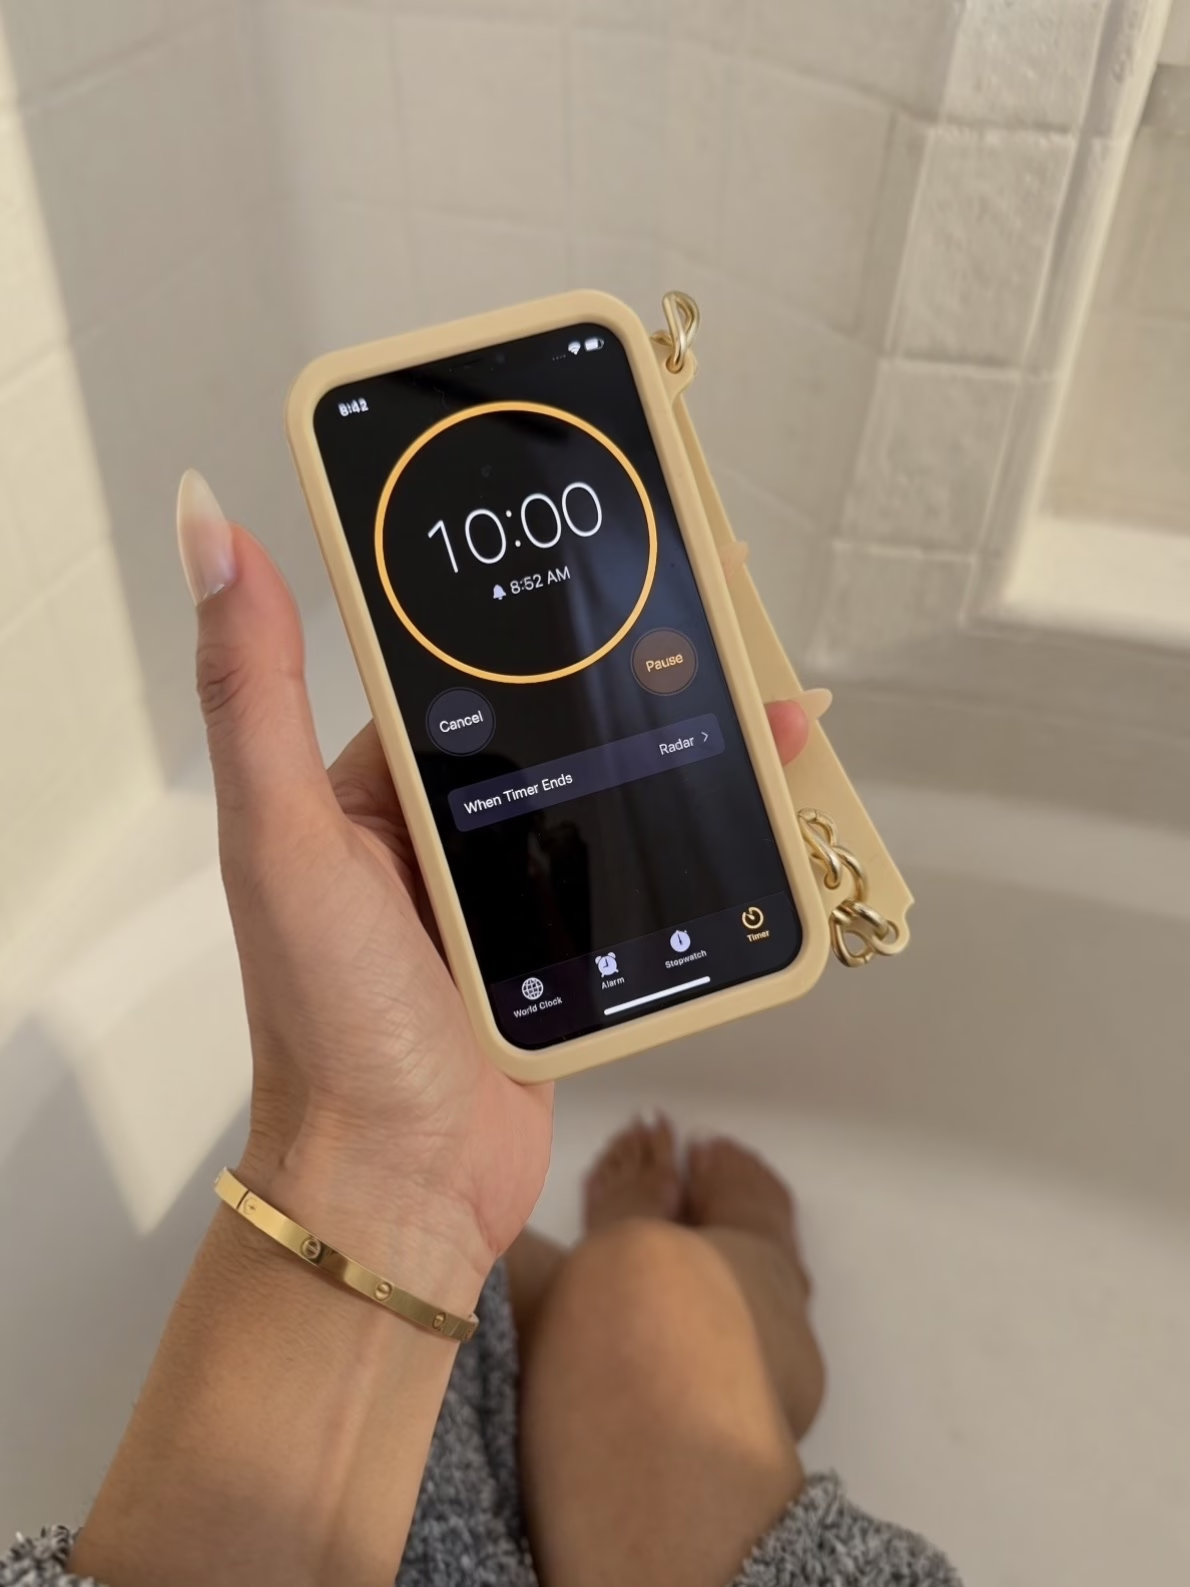
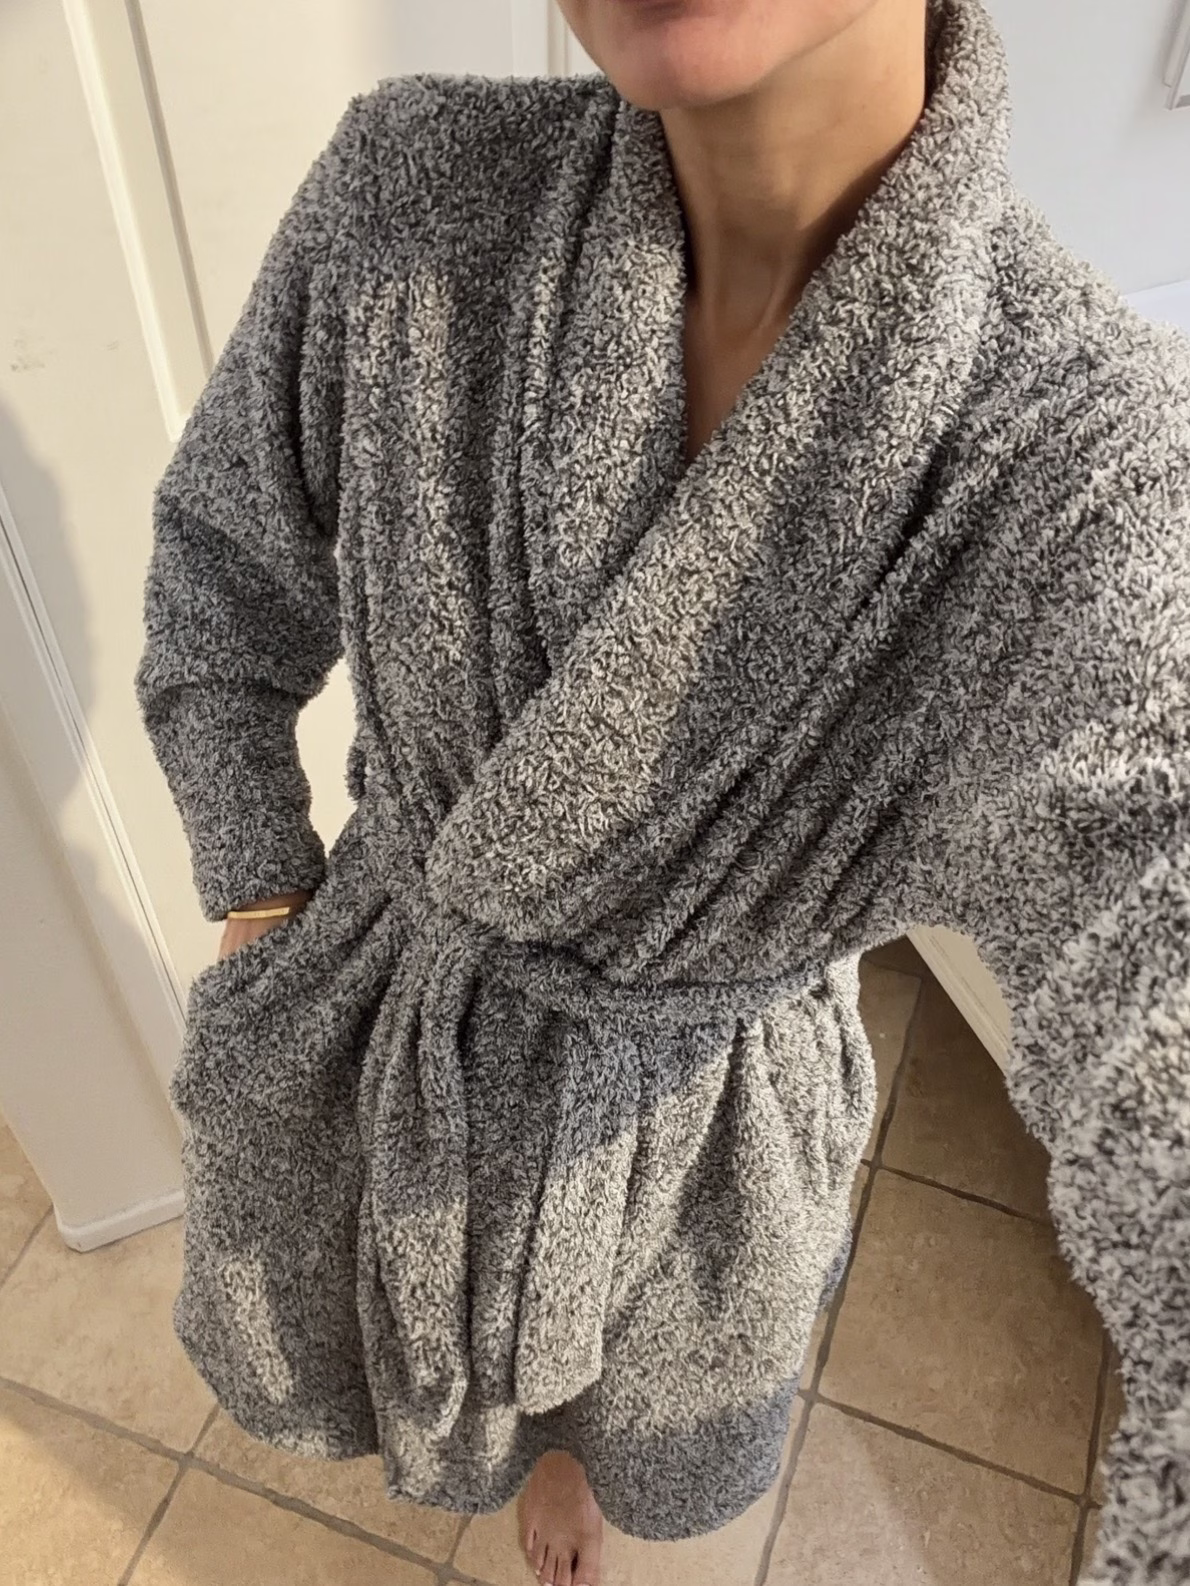
Once I’ve finished applying self-tanner, I allow it to dry for about 10 minutes before getting dressed.
I usually wear:
- A robe
- Loose clothing
- Dark clothing
- No tight leggings
- No tight straps
This helps prevent transfer and streaking while the tan develops.
Step 6: Wait Before Showering
Every self tanner is slightly different, but most require between four and eight hours to fully develop. I encourage you to read the instructions so you know how long you need to wait.
I prefer applying self tanner at night and showering the next morning.
During the first shower, I avoid scrubbing my skin and simply rinse with lukewarm water.

How To Remove Self Tanner Stains on Small Areas
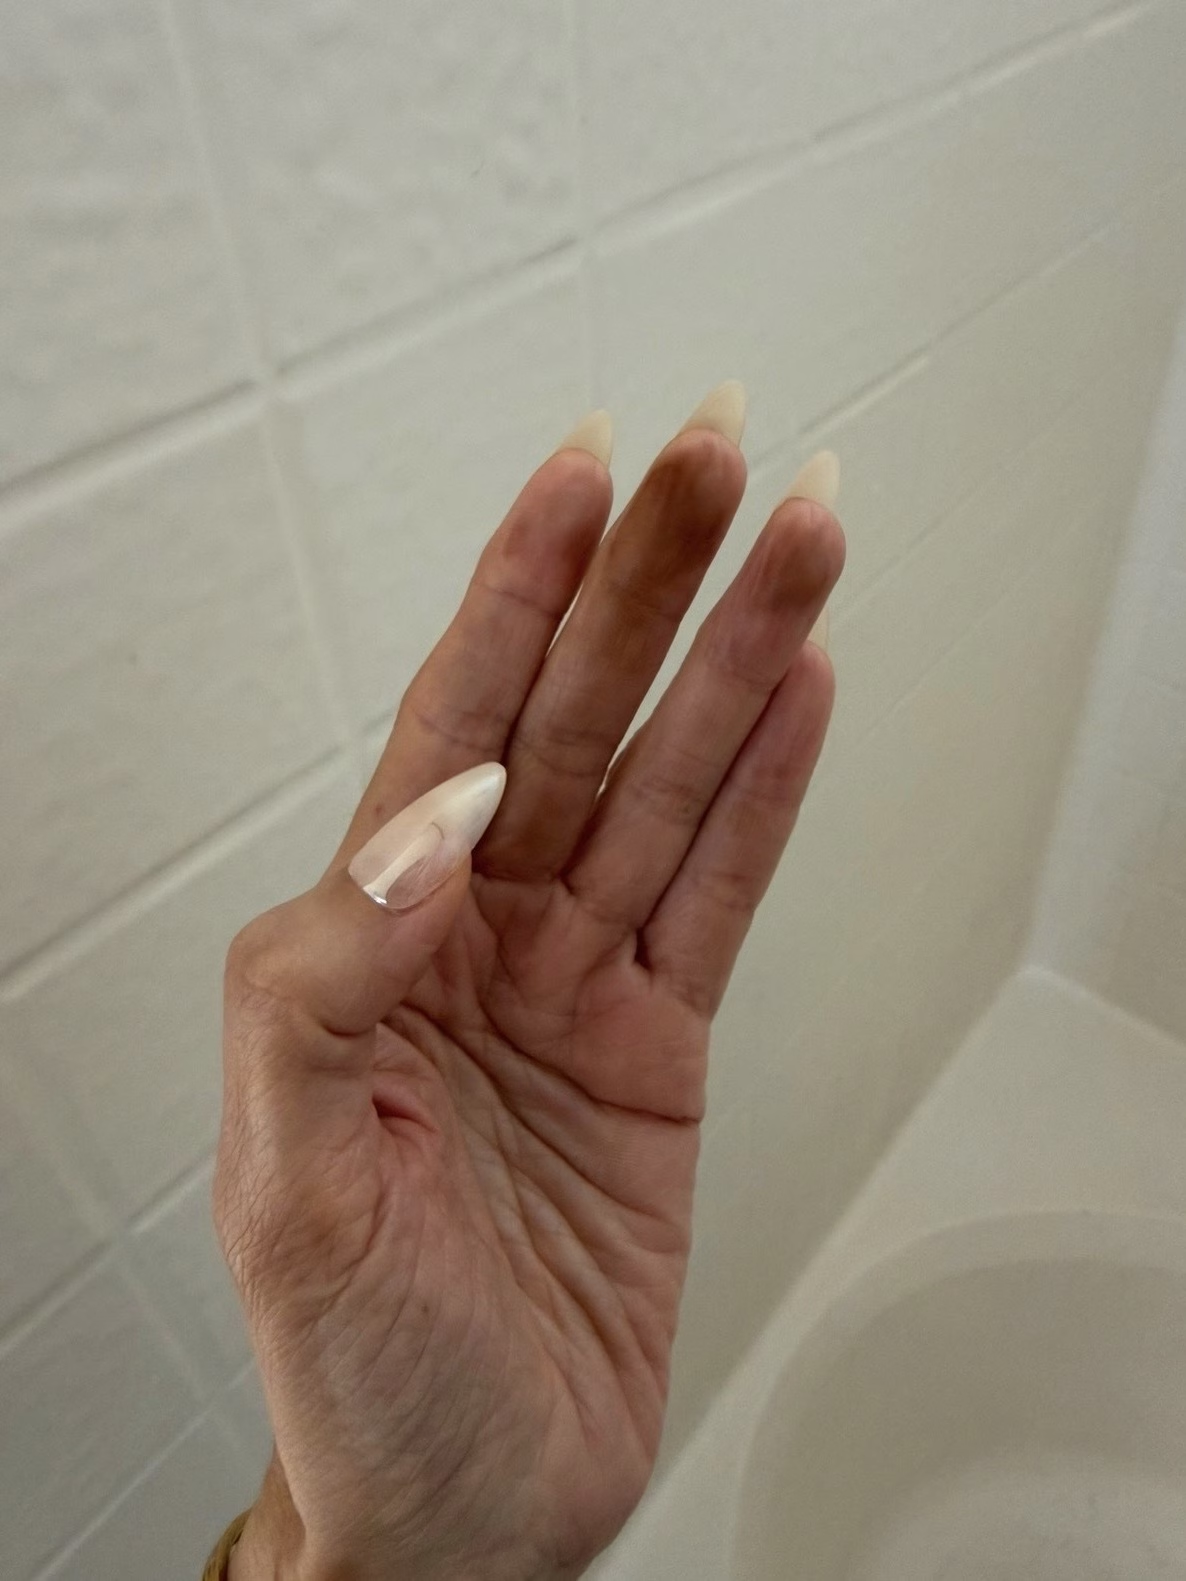
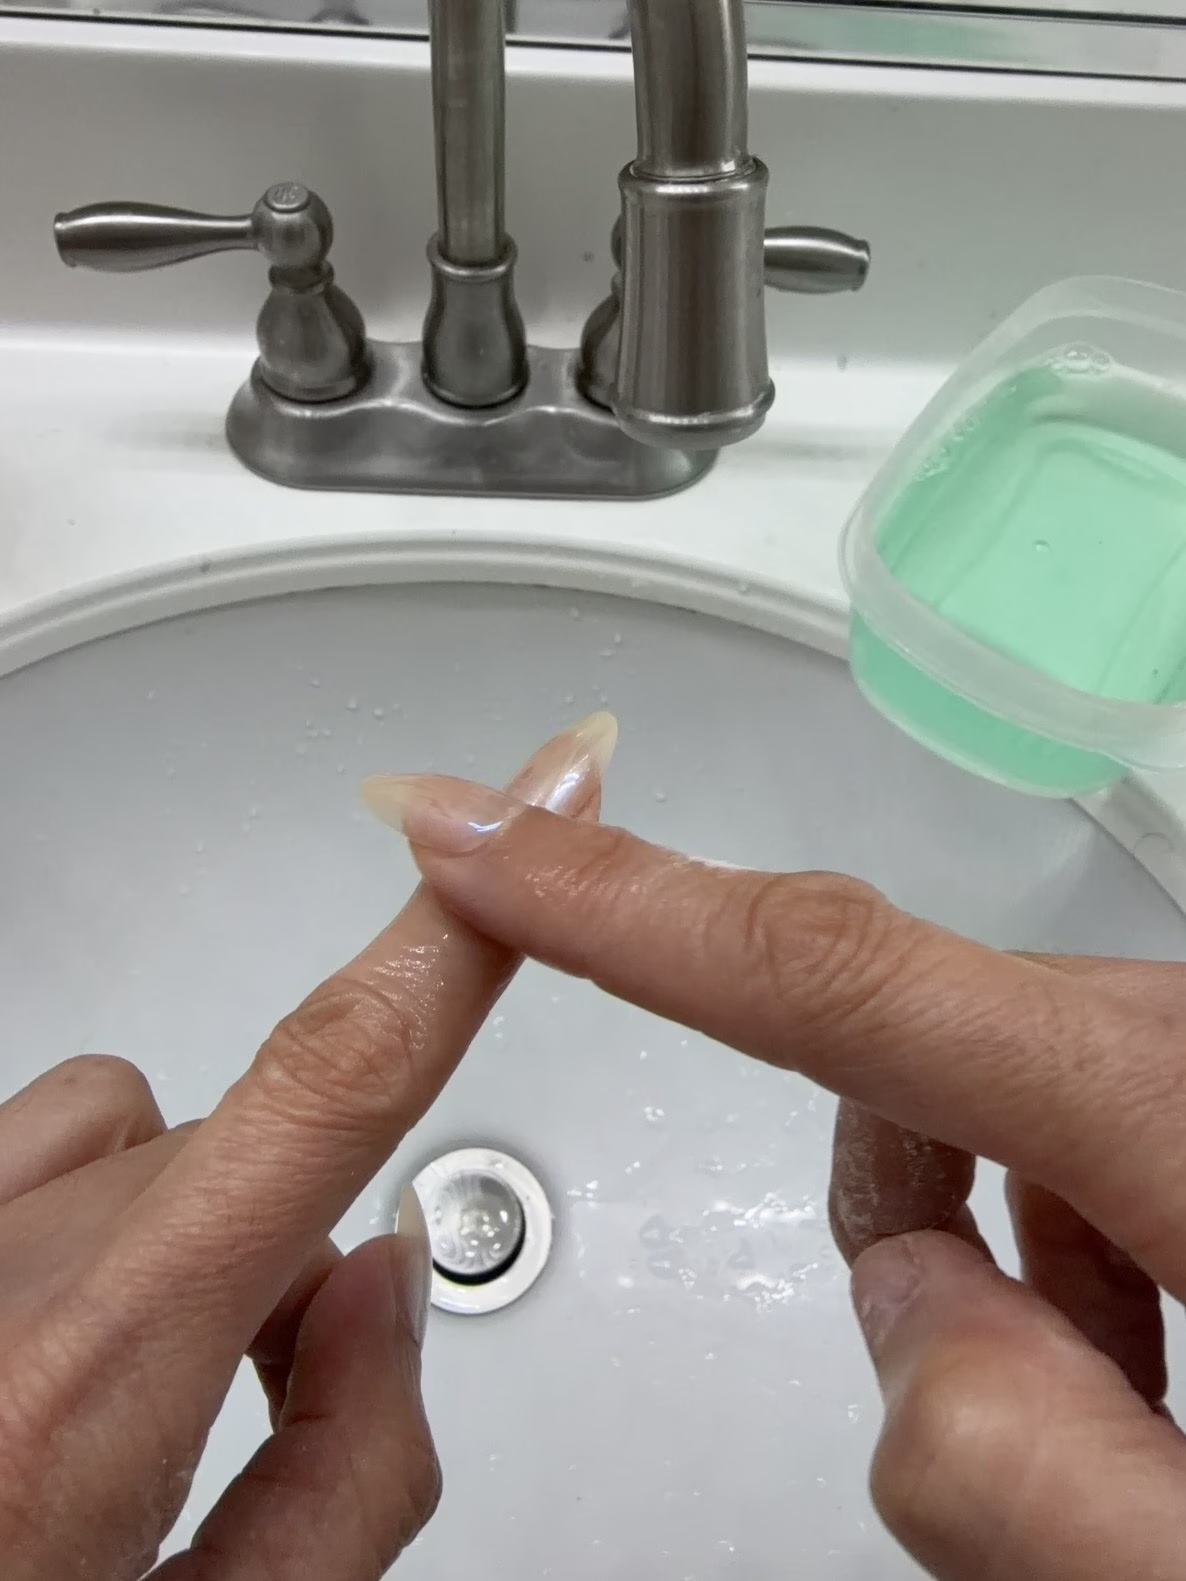
No matter how hard I try to avoid self-tanner stains on my hands, fingers, knees, elbows, ankles, and other areas, I always end up getting them. However, I have a few DIY remedies that can help remove these self-tan stains. It’s important to act quickly because self-tanner continues to develop over time, darkening as each minute passes, which makes it more difficult to remove.

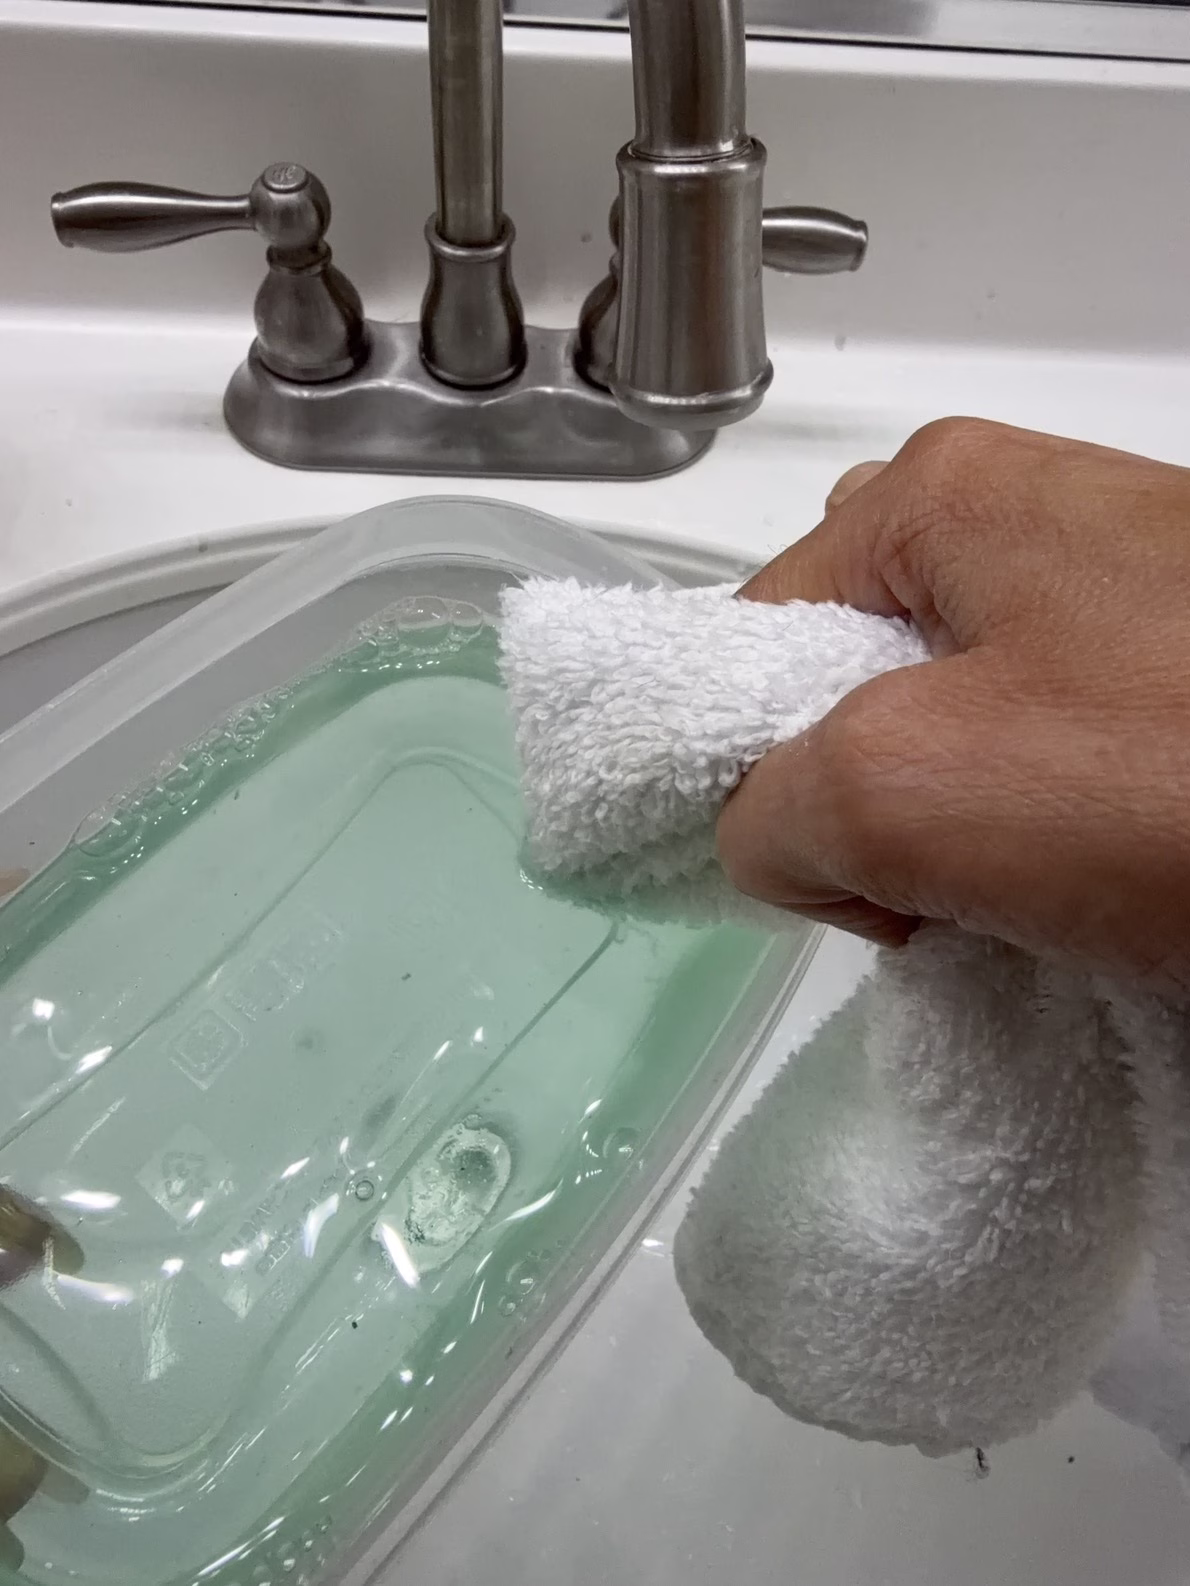
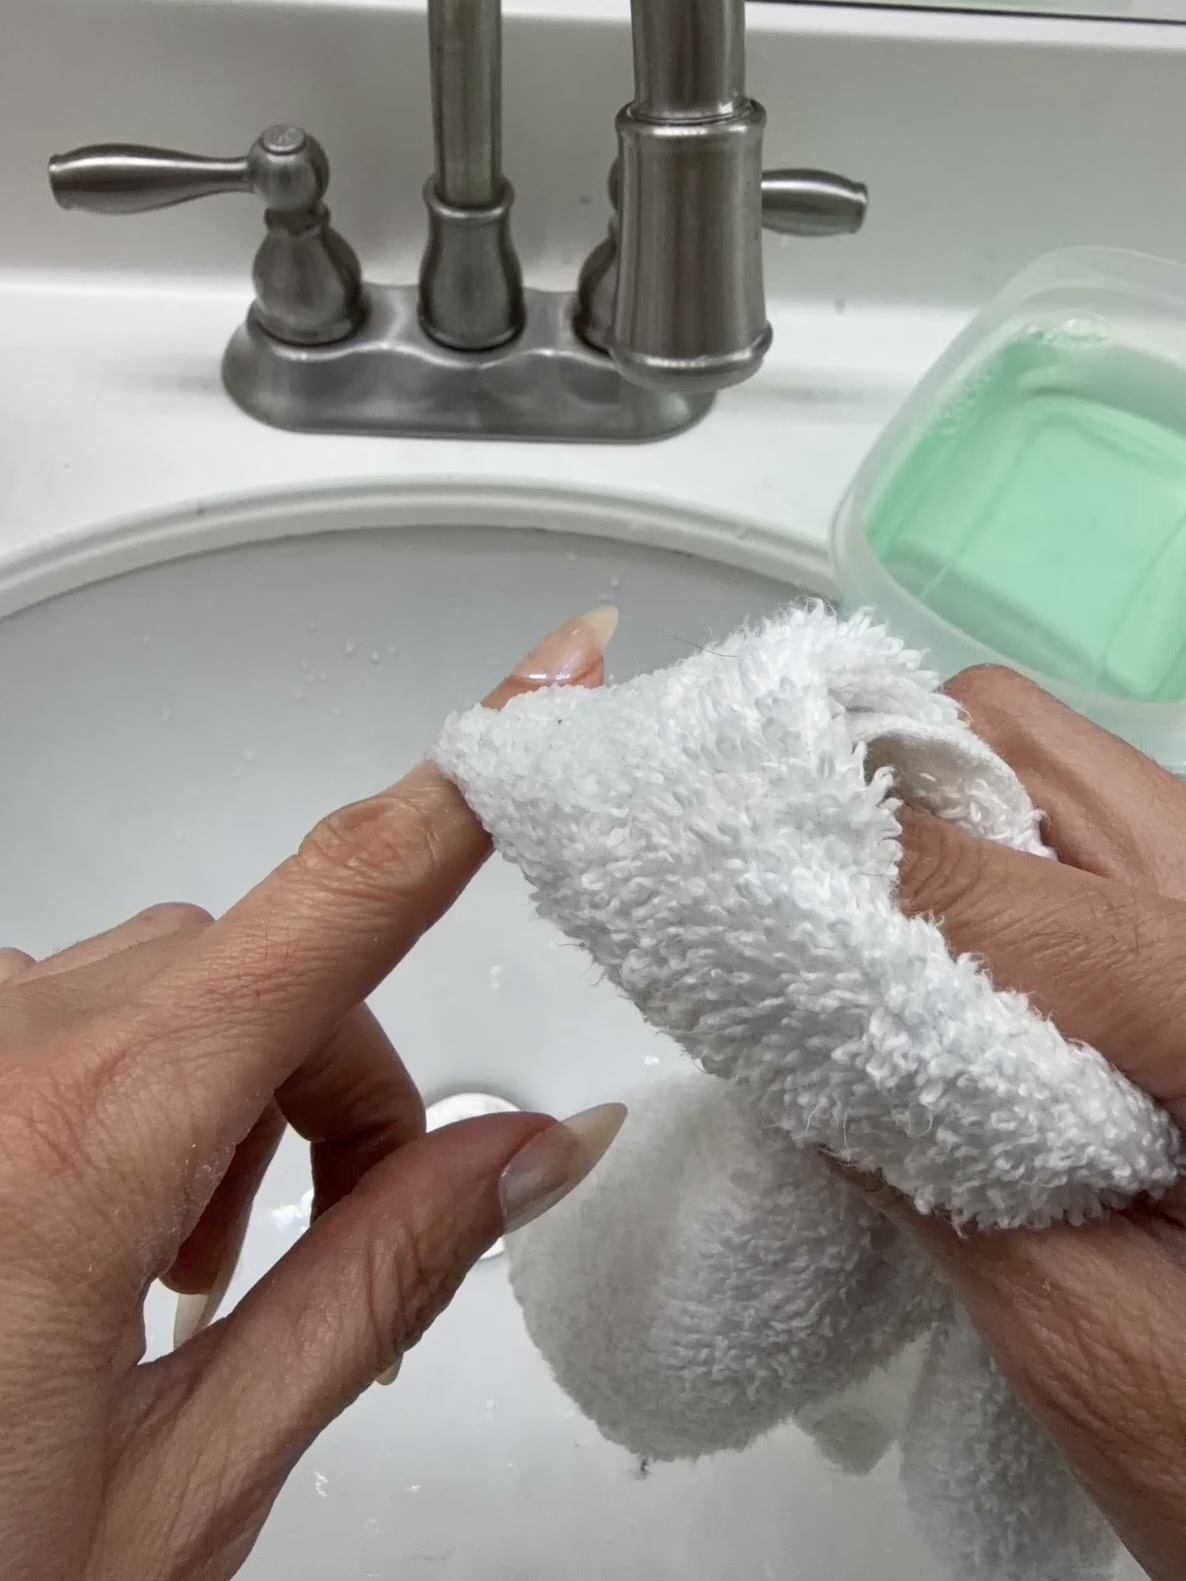
1. Dish Soap
The easiest and fastest way to remove self-tanner is with dish soap.
- Mix dish soap with water
- Gently massage onto skin with a cloth or your own fingers
- Rinse thoroughly
2. Baking Soda
For stubborn areas like firger tips, elbows, knees hands and ankles:
- Mix baking soda with a little water to create a paste.
- Gently massage onto skin for 30-60 seconds
- Rinse thoroughly
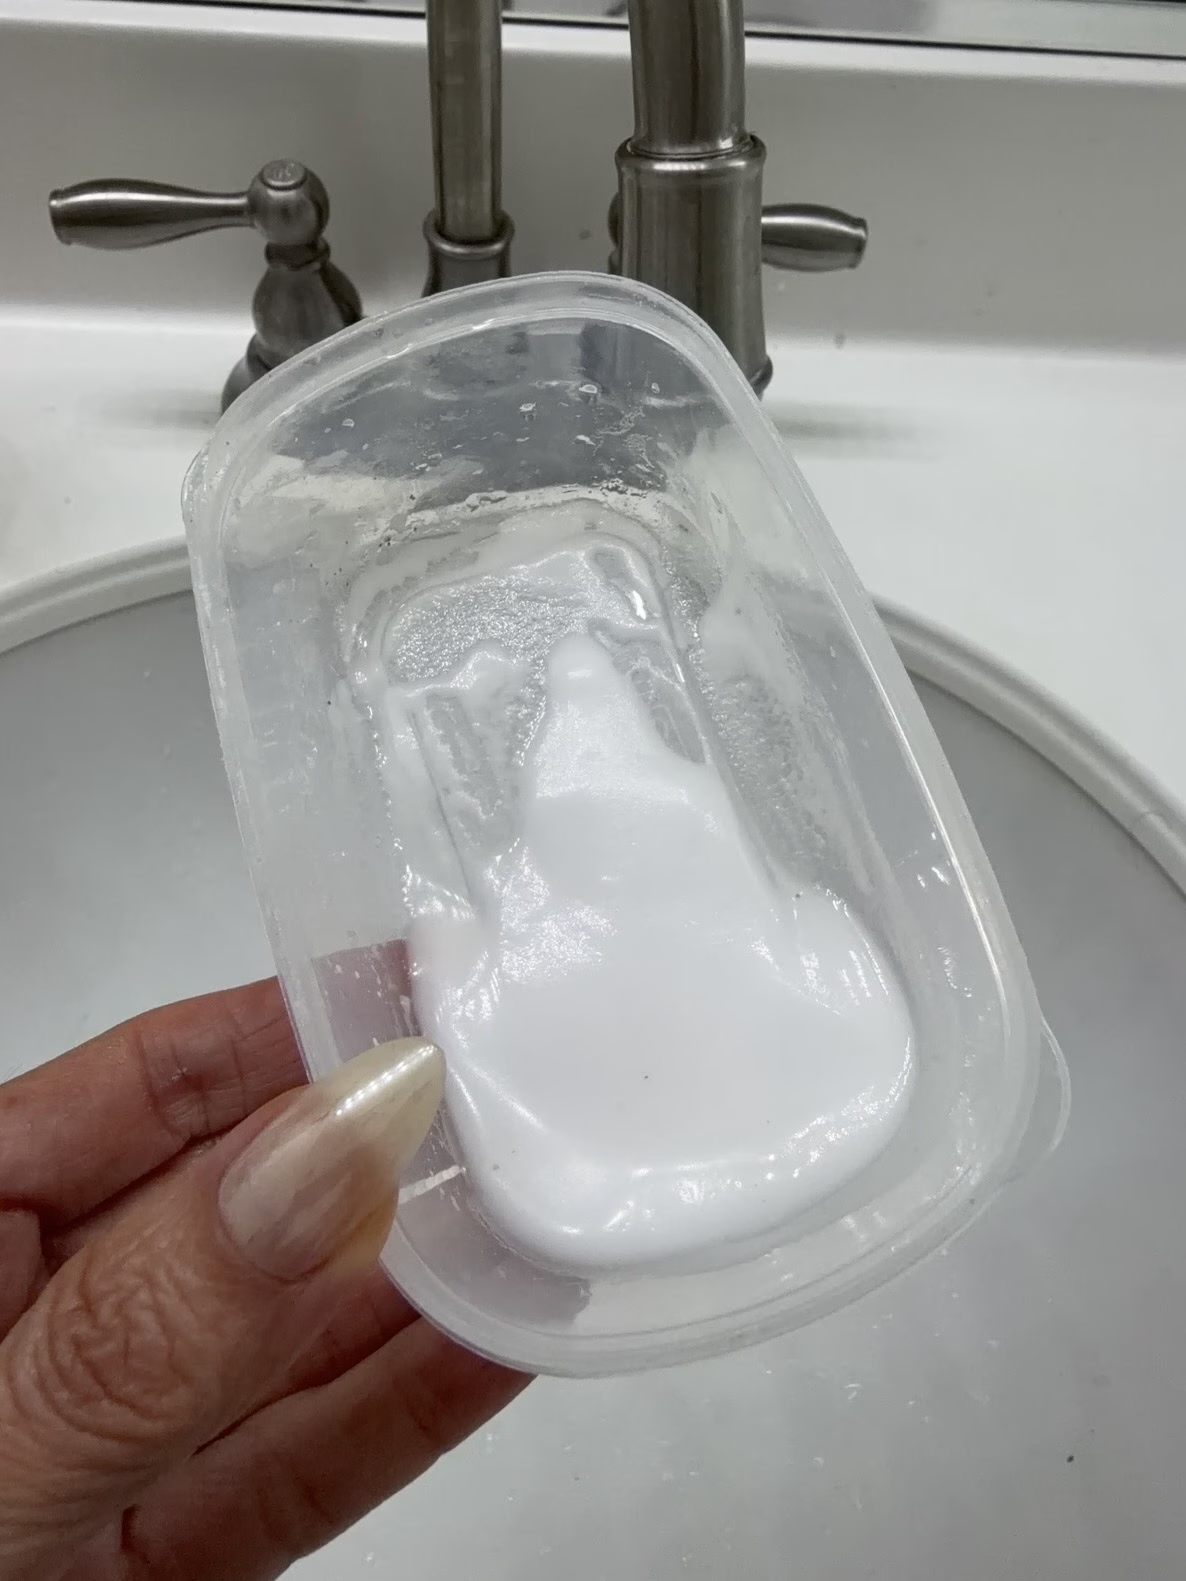

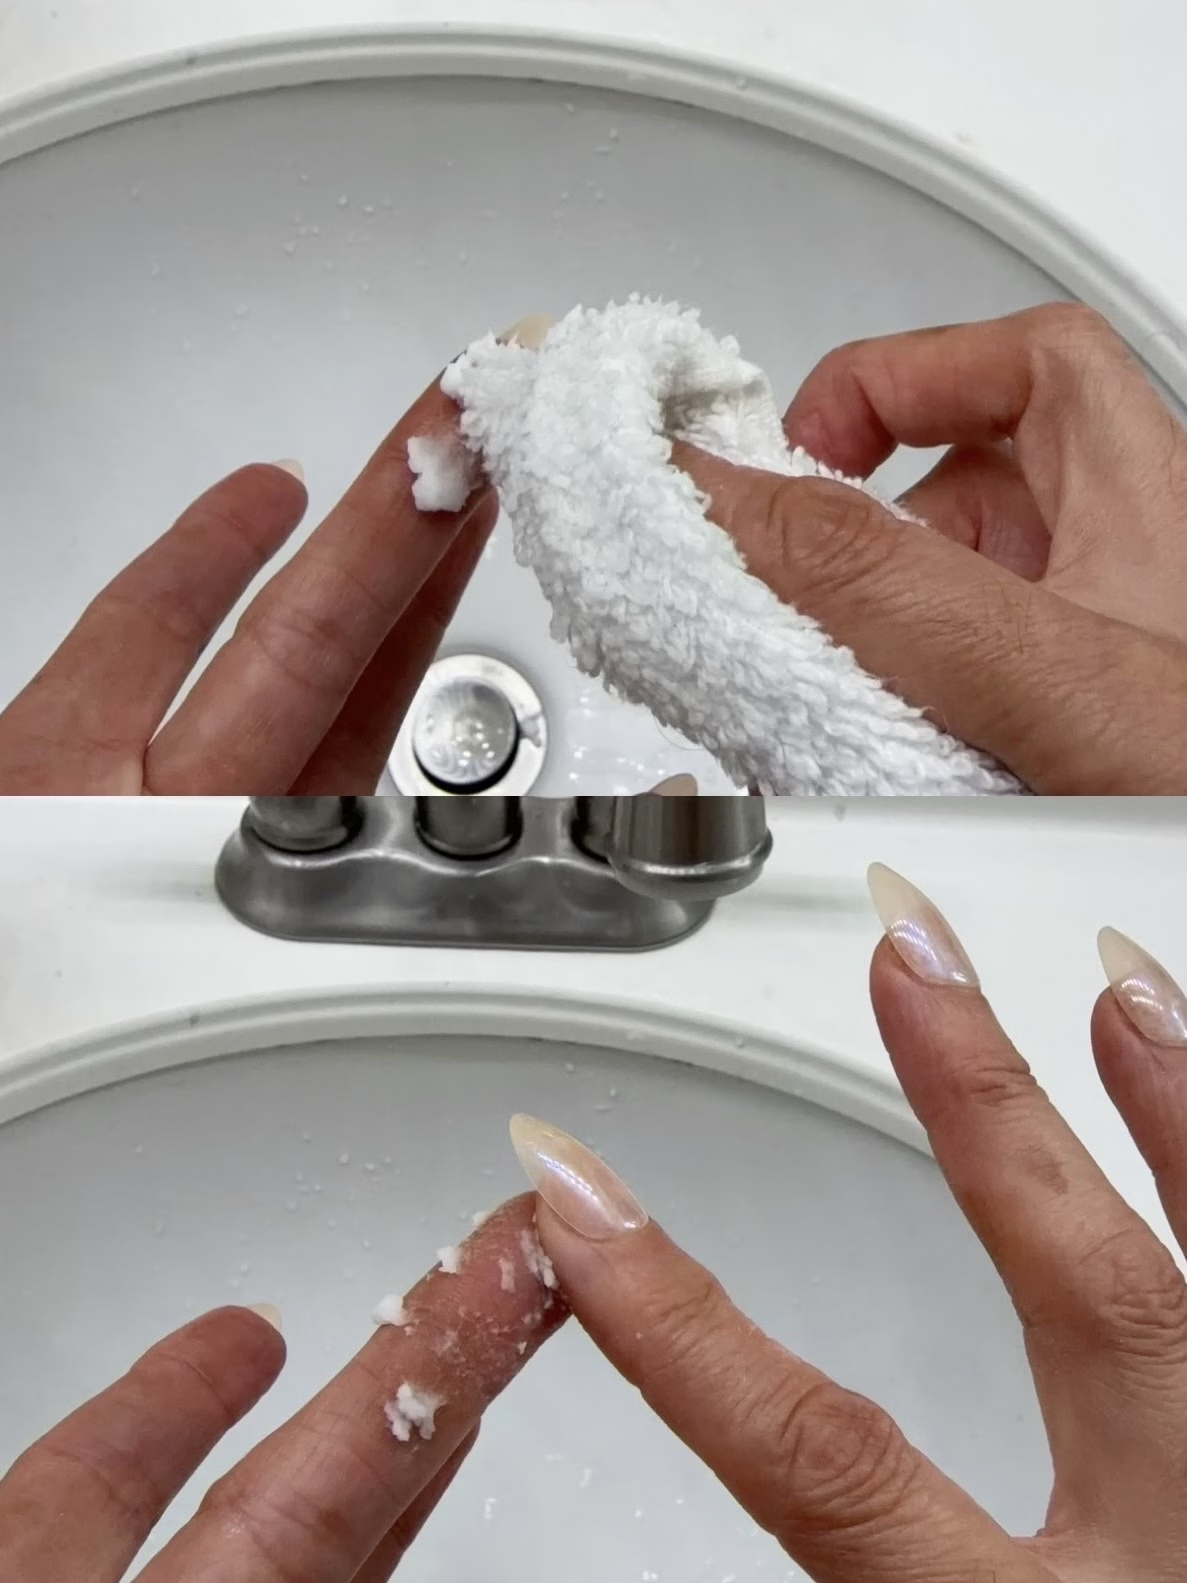
After removing the self-tanner stains with any of the above methods, apply moisturizer.
How I Make My Self Tanner Last Longer
A self tan always looks better when the skin is hydrated.
To make mine last as long as possible, I:
- Moisturize daily
- Avoid long hot showers
- Pat skin dry after bathing
- Avoid aggressive exfoliation
Following these steps usually helps my tan last about a week before I need another application.
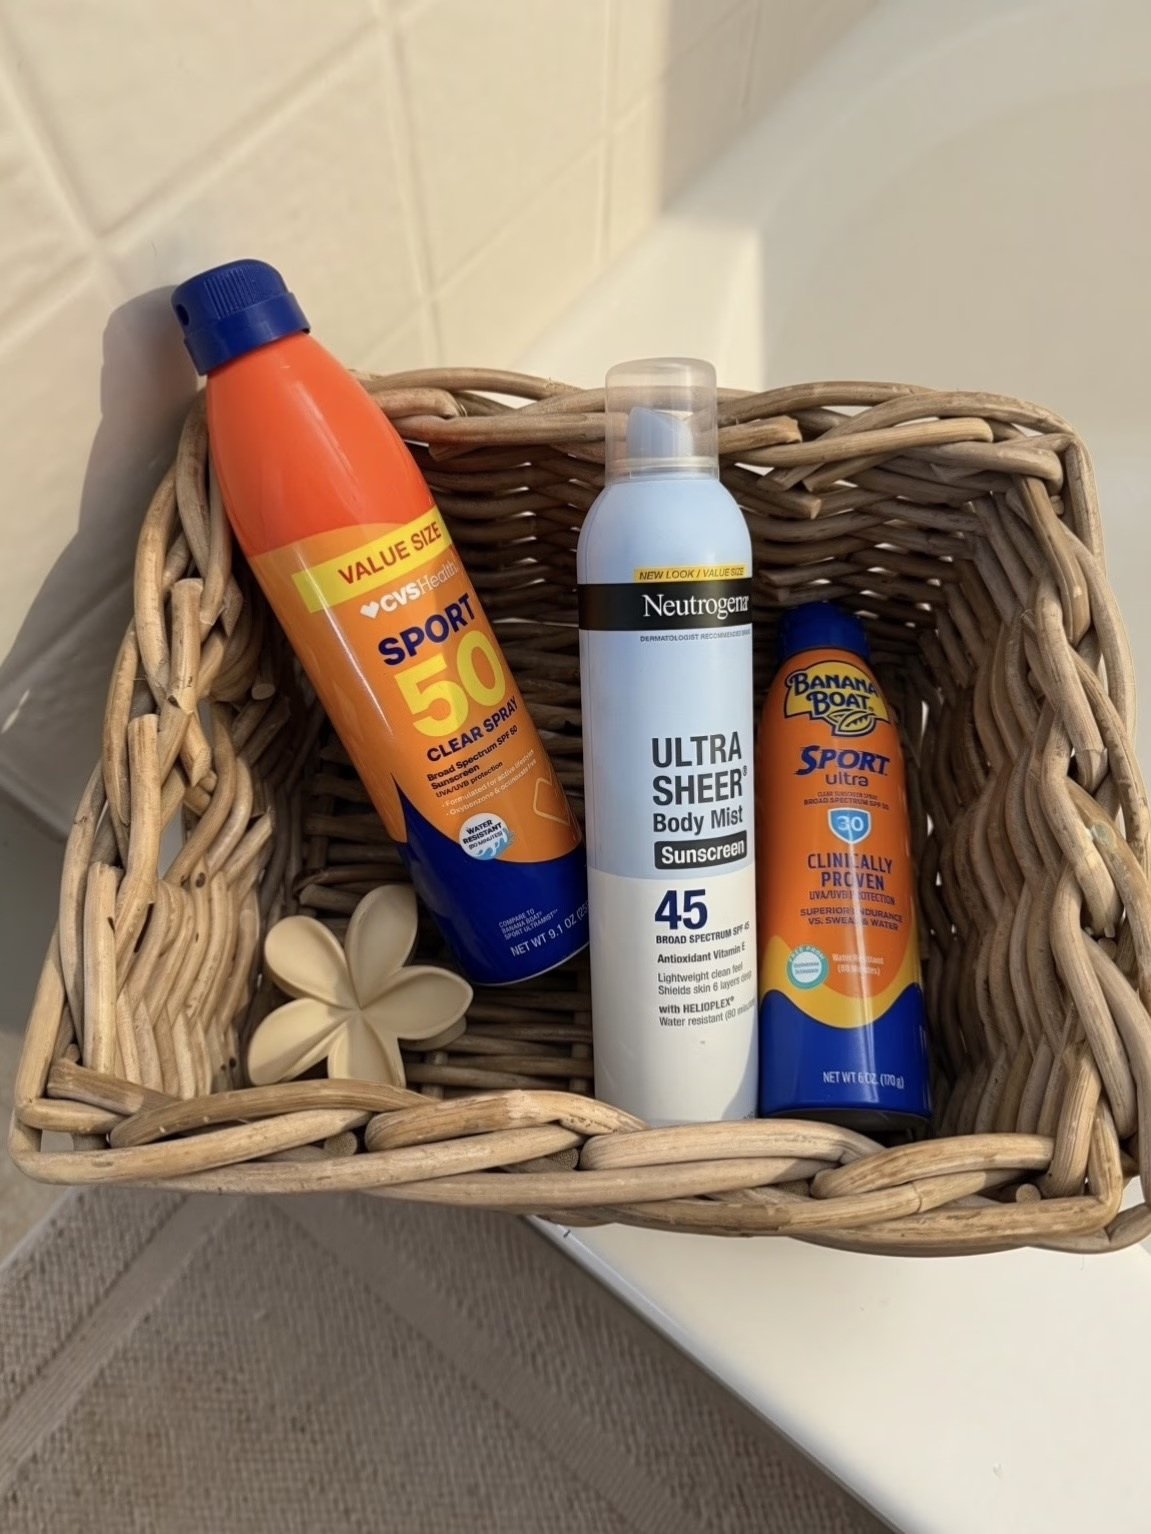
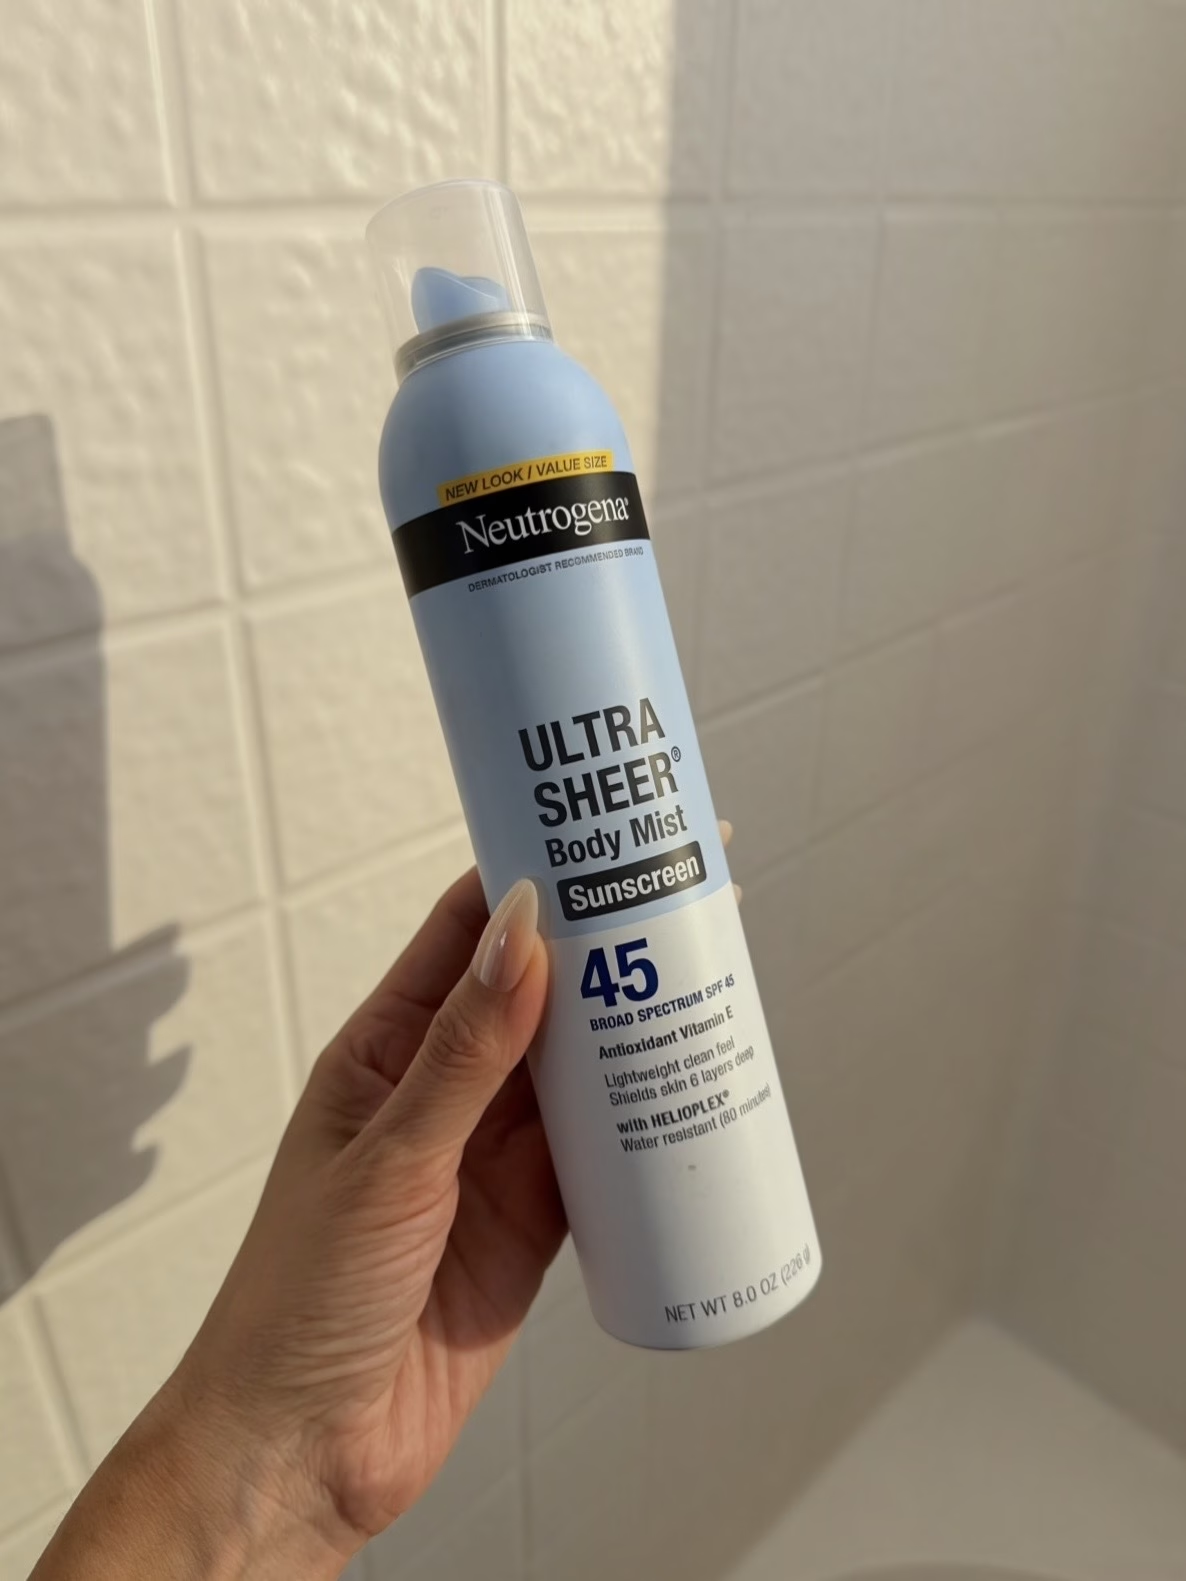
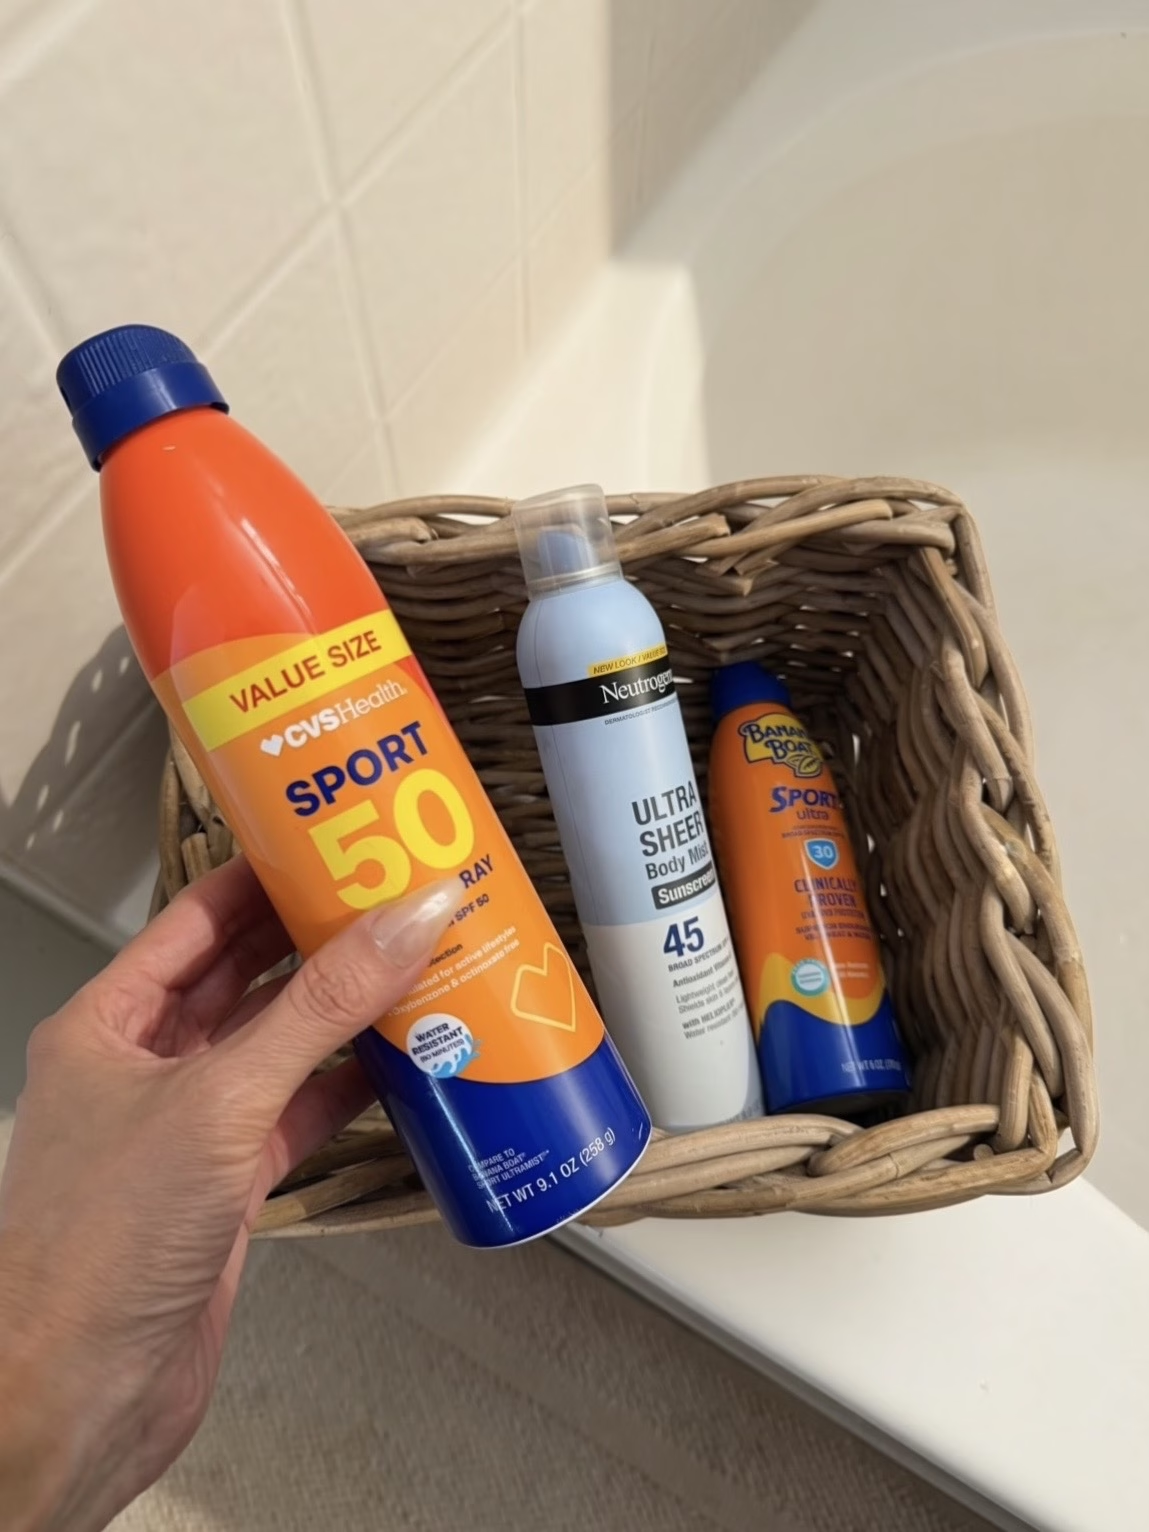
Do You Still Need Sunscreen After Self Tanning?
Yes, absolutely.
This is one of the biggest misconceptions about self tanning.
While self tanner gives your skin a bronzed appearance, it does not provide meaningful UV protection.
You can still:
- Get sunburned
- Develop sun damage
- Experience premature aging
- Increase your risk of skin cancer
I always wear a broad-spectrum SPF 30 or higher whenever I’m outdoors.
Think of it this way:
Self tanner gives you color. Sunscreen gives you protection.
You need both.
Common Self Tanning Mistakes
Skipping Shaving
Hair can interfere with application and create a less smooth finish.
Skipping Exfoliation
Dead skin cells can cause patchiness and uneven fading.
Applying Too Much Product
More product doesn’t necessarily create a better tan.
Wearing Tight Clothing Immediately After Application
This can cause streaking and uneven color development.
Forgetting Sunscreen
A self tan does not replace your daily SPF.
My Final Thoughts
I love tanning with self tanner because it gives me the appearance of a healthy glow without spending unnecessary time in the sun.
For me, the biggest difference comes from preparation. Shaving, exfoliating, moisturizing, and applying the product carefully help create a natural-looking result that lasts much longer.
And no matter how beautiful your self tan looks, don’t forget sunscreen. A bronzed glow is great, but protecting your skin will always be more important.
FAQs
Can you tan with self tanner on?
Yes. You can be outdoors while wearing self tanner, but you still need sunscreen because self tanner does not protect against UV rays.
Should you shave before applying self tanner?
Yes. I recommend shaving 12 to 24 hours before application for the smoothest and most even results.
How long does self tanner last?
Most self tanners last between five and ten days.
Can I shave after self tanning?
Yes, but shaving may cause the tan to fade more quickly because it lightly exfoliates the skin.
Does self tanner protect against sunburn?
No. Self tanner changes the appearance of the skin but does not provide UV protection.
Can you tan with self tanner on?
Yes. Self tanner does not protect you from UV rays. You need to wear UV sunblock protection on top of your self tan to protect your skin from the sun.
Related Post:


